Crispy Buffalo Cauliflower Tacos
Crispy Buffalo Cauliflower Tacos are a bold and flavorful dish featuring crunchy cauliflower bites with tangy buffalo sauce wrapped in soft flour tortillas. Top the tacos with fresh avocado, cilantro, and vegan ranch for a satisfying and delicious plant-based meal.

These cauliflower tacos are so flavorful, filling, and easy to make. I love finding ways to incorporate more vegetables into my diet, like my favorite vegetarian Taco Salad.
Ingredients
The ingredients to make these tacos are simple, here’s what you’ll need.

- Cauliflower Florets– you can buy precut florets or cut them from a whole cauliflower head.
- Buffalo Sauce– Choose your favorite buffalo sauce and heat intensity.
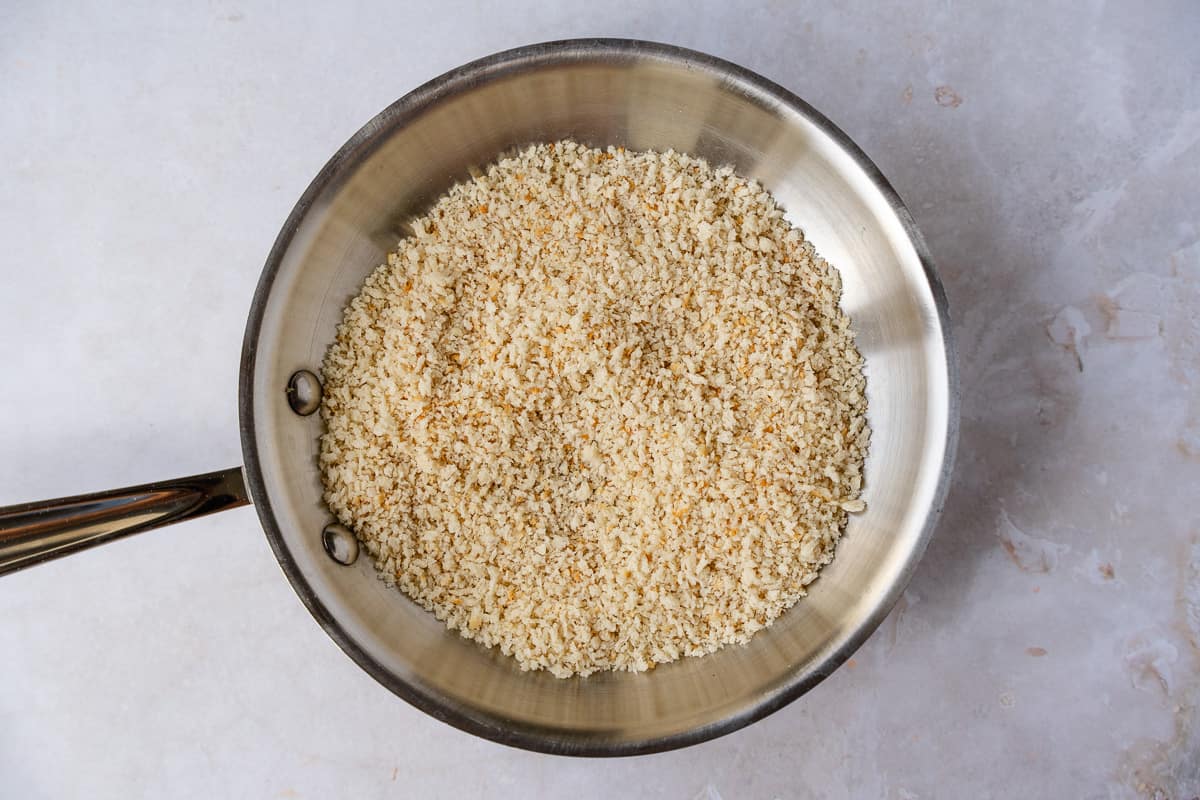
- Panko– a popular Japanese bread crumb that gives a light and airy crunch to the cauliflower. You can also use gluten free panko if you need it.
- Tortillas– I prefer flour tortillas, but corn or cassava tortillas are great too.
- Ranch– use regular ranch or a plant-based ranch if needed.
- Cabbage– I love the fresh crunch from shredded cabbage, but shredded lettuce works too.
How to Make
When I first published this recipe I did not own an air fryer. I’ve since tested this recipe in the air fryer and love the results! Depending on what you own, you can either bake or air fry the cauliflower.
Start by toasting the panko either in a dry skillet or on the baking sheet you plan on using. I’m all about less dishes! This only takes a couple of minutes for the panko to get a golden color.
Check out these Panko-crusted Fish Tacos.
Dip each cauliflower floret in buffalo sauce, or add them to a bowl and combine to coat all the cauliflower.
Next, sprinkle some panko onto each coated floret and place it on a baking sheet. Don’t worry about coating the entire floret, you just want just enough to add that layer of crunch.

Bake the cauliflower in a 400°F oven for 20 minutes, then turn on the broiler for 2 min to get even more crunch. For the air fryer, 375°F for 7 minutes or until golden brown. You may need to flip each floret over half way through.
Assembling the Tacos
Always warm up your tortillas before building the taco. This rule applies to both corn and flour tortillas, warm them up either in the oven or on the stove. Keep them warm in a tortilla warmer or wrapped in foil.

Layer on some shredded cabbage or lettuce on the bottom of your tortilla and give a little squeeze of lime. Then pile on the baked buffalo cauliflower, drizzle some ranch, and add diced avocado, and cilantro.
Feel free to add any additional toppings like sliced onions, sliced celery, or carrots would be great too. Hitting them with a squeeze of lime and sprinkle of salt for more flavor.

Frequently Asked Questions
The Buffalo cauliflower is best eaten right away, but if you have leftovers, store everything separately. Reheat the buffalo cauliflower in the oven, toaster oven, or air fryer. Otherwise, they will be soggy if you reheat them in the microwave.
I love how light and crispy panko is, but you can also used crushed corn flakes (cereal) or toasted bread crumbs.
More Meatless Recipes


Crispy Buffalo Cauliflower Taco Recipe
Want to Save This Recipe?
Enter your email & I’ll send it to your inbox. Plus, get great new recipes from me every week!
By submitting this form, you consent to receive emails from Thai Caliente
Equipment
- Oven
Ingredients
- 8 Corn or Flour Tortillas Warmed
- 1 Cauliflower Washed and cut into florets
- 1 Cup Buffalo Sauce
- 1 Cup Panko Seasoned with salt and pepper
- 1 teaspoon Oil + Spray cooking oil
- Shredded Cabbage or Lettuce
- 1 Lime
- 1 Avocado diced
- Ranch or Blue Cheese Dressing
Instructions
- Preheat oven to 400°F. Add Panko, oil, salt and pepper to a baking sheet and spread it out evenly. Bake panko for 5 minutes or until slightly browned. Remove and place into a bowl.
- Wash, and cut cauliflower into even size florets. Place buffalo sauce in a small bowl and dip cauliflower floret in buffalo sauce using a fork, shake off excess, then sprinkle panko over.Or you can add all the buffalo sauce to a bowl with the cauliflower and toss to coat evenly. Then place on a baking sheet and sprinkle panko on top of each floret. This way is faster but you don't get panko on all sides of the cauliflower.
- Spray with cooking oil and bake cauliflower for 20 minutes then turn on the broiler for 2 minutes to get more crunch and color. Remove from oven.
- Warm tortillas on the oven or stove. Add some cabbage or lettuce and a squeeze of lime juice to the tortilla. Then a few pieces of buffalo cauliflower, drizzle with ranch, chopped avocado, and cilantro.
Video
Notes
Nutrition
Nutritional information is provided as an estimate only and depends on ingredients and amounts used. Thai Caliente makes no guarantees to the accuracy of this information.


I’ve been trying to eat more plant based foods. I think this fits the bill and looks delicious! I’d be so honored if you’d share this at our What’s for Dinner party!
http://www.lazygastronome.com/whats-for-dinner-sunday-link-up-162/
Thanks Helen! I would love to share it 🙂