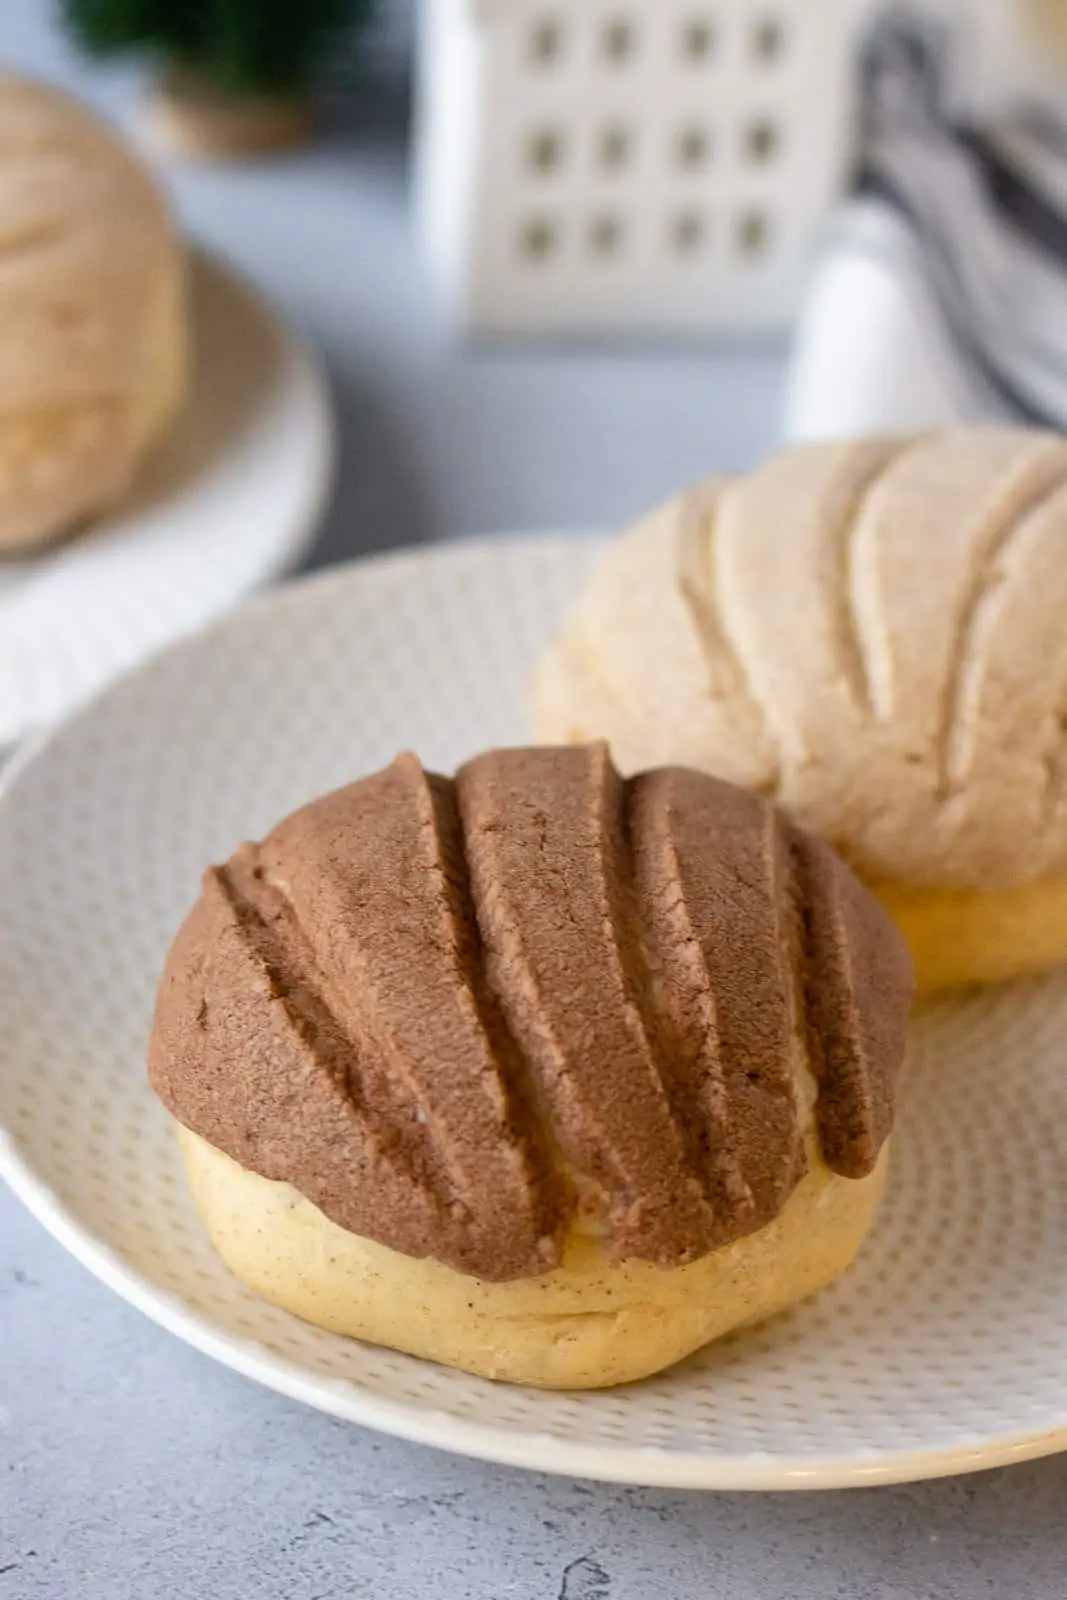
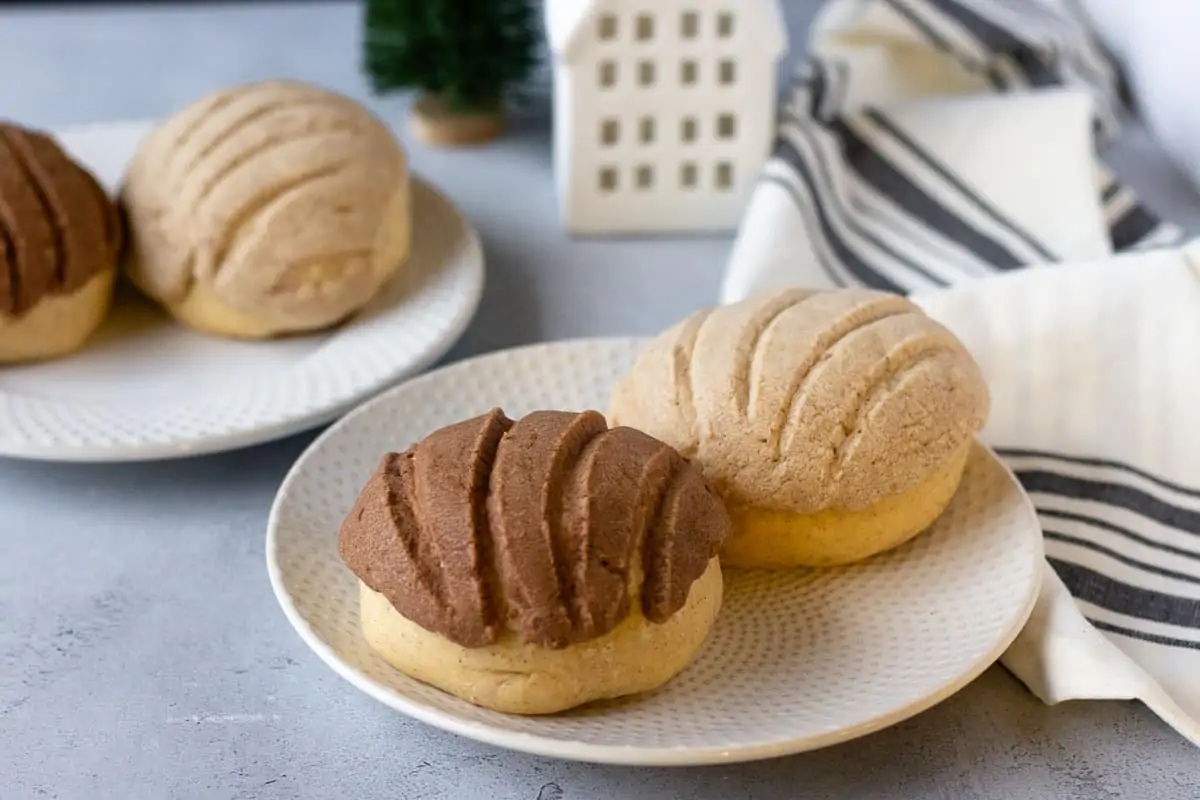
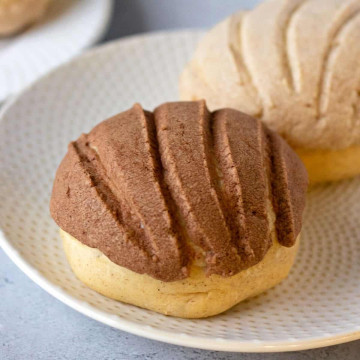
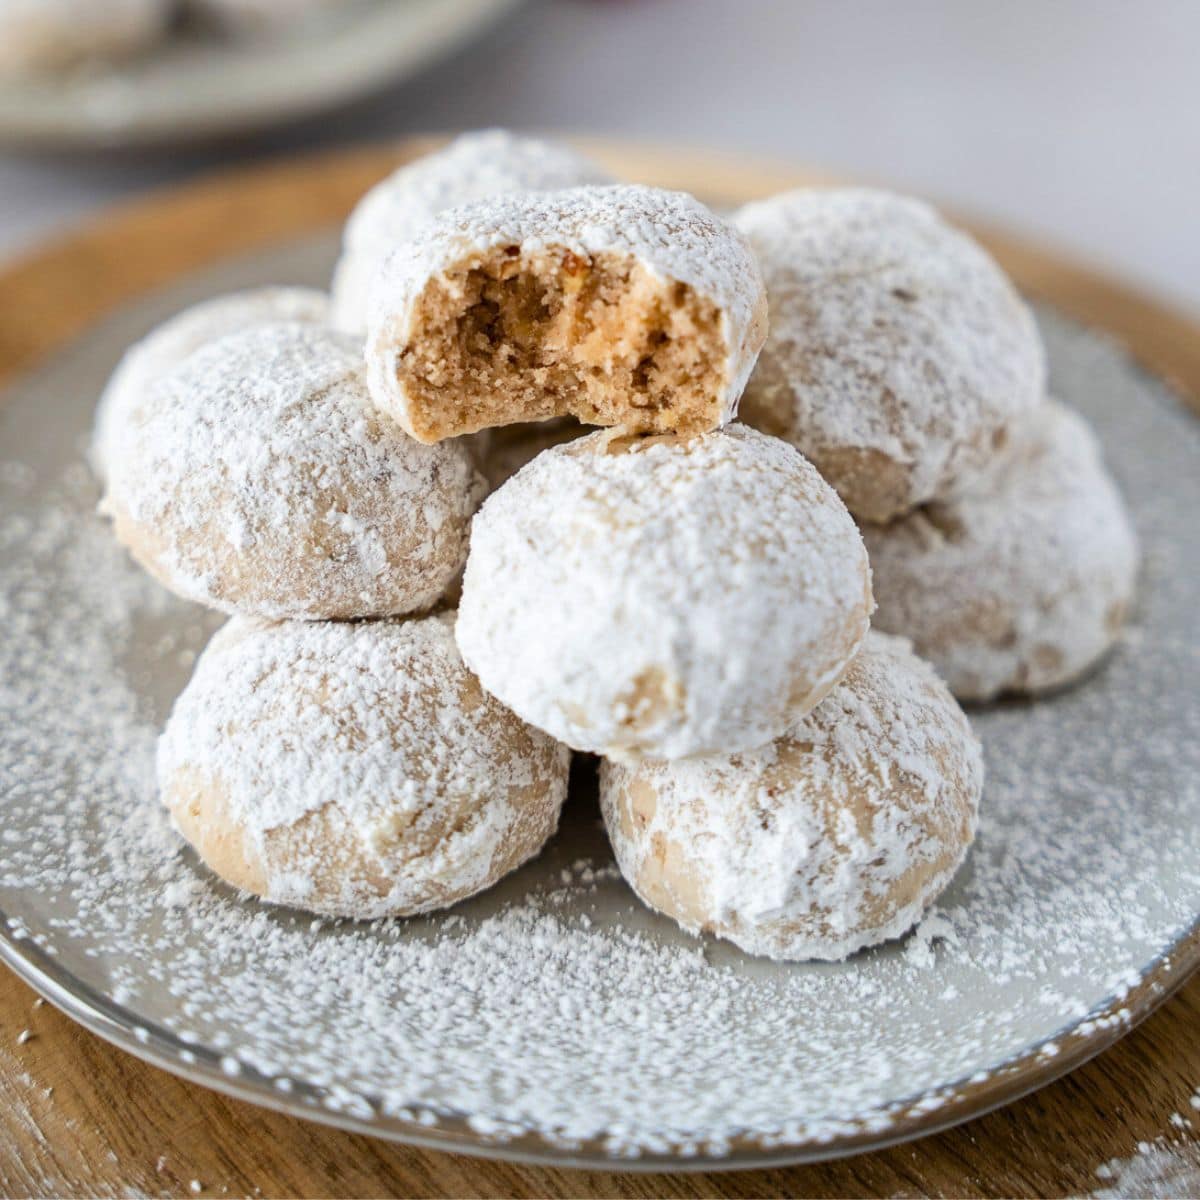
Conchas (Mexican Sweet Bread)
Conchas or Pan Dulce is a popular Mexican Sweet Bread with a sugar crust topping that can be in different colors or flavors.
Reader Jen Says: “I make these conchas every year for Dia de los Muertos and they’re always a hit! The amount of cinnamon is perfect, even for my kid who hates cinnamon rolls. The sugar crust can be little challenging; I’ve subbed shortening for the butter and found it a little easier to get the texture right.”★★★★★
To achieve a delicious, authentic Mexican Concha, take your time and don’t rush the process!
Like most yeast-based dough, you need to be patient and allow the concha dough enough time to rise. I highly recommend watching my YouTube Video to see the detailed steps to successfully make conchas at home.
For my sourdough users, check out these conchas made with sourdough starter instead of yeast.
What is a Concha?
Concha in Spanish means ‘shell’, and this dessert is traditionally designed to look like a shell. Conchas are a type of Pan Dulce, Sweet Mexican Bread.

Conchas are found in Mexican Bakeries known as Panaderias. The dough is slightly sweet, but the sugared crust provides most of the sweetness to this dessert bread.
How to Make the Concha Dough
For best results, use Bread Flour, however, all-purpose flour can be used instead. Just keep in mind you may need more all-purpose flour, but start with the listed amount.
In order for the yeast to activate properly, use a thermometer to test the temperature of the milk. This recipe was tested with whole milk, and the temperature should be between 98 and 103 degrees F.
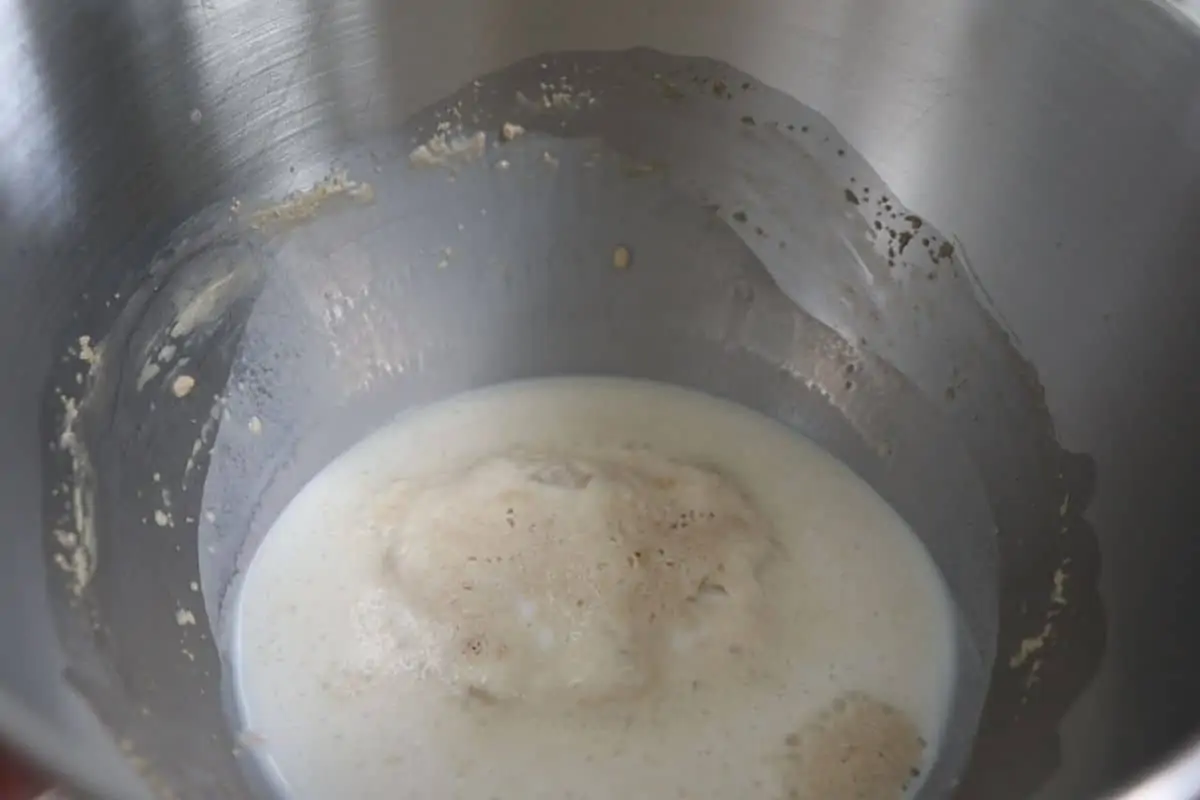
Once you add the sugar, yeast, and warm milk together in a bowl of a stand mixer, bubbles should start forming after 5-10 minutes. If you do not see bubbles, then you need to troubleshoot:
- The yeast has expired, check the date. If the yeast is expired, you need to start with new yeast.
- The milk was too cold and the yeast could not activate.
- The milk was too hot and killed the yeast. Start over, and measure the temperature of the milk again to ensure it’s the right temp.
Additionally, you want to make sure your eggs are at room temperature and the unsalted butter is melted, but not too hot.
If you are using all-purpose flour, you may need to add more, but start with the listed 4 cups of flour. Whenever you measure flour, always spoon it into the cup and level it off.
I used my KitchenAid Mixer with the dough attachment to mix the dough on medium speed, which is so much easier than kneading by hand. The dough needs to be combined for about 8 minutes to get a nice smooth ball.
You can do this process by hand; just know it will take some muscle. I also recommend kneading by hand for 5 minutes after removing the dough from the mixer. Clean a work surface, sprinkle some flour, and knead by hand until smooth. This will ensure you get a really soft concha dough.
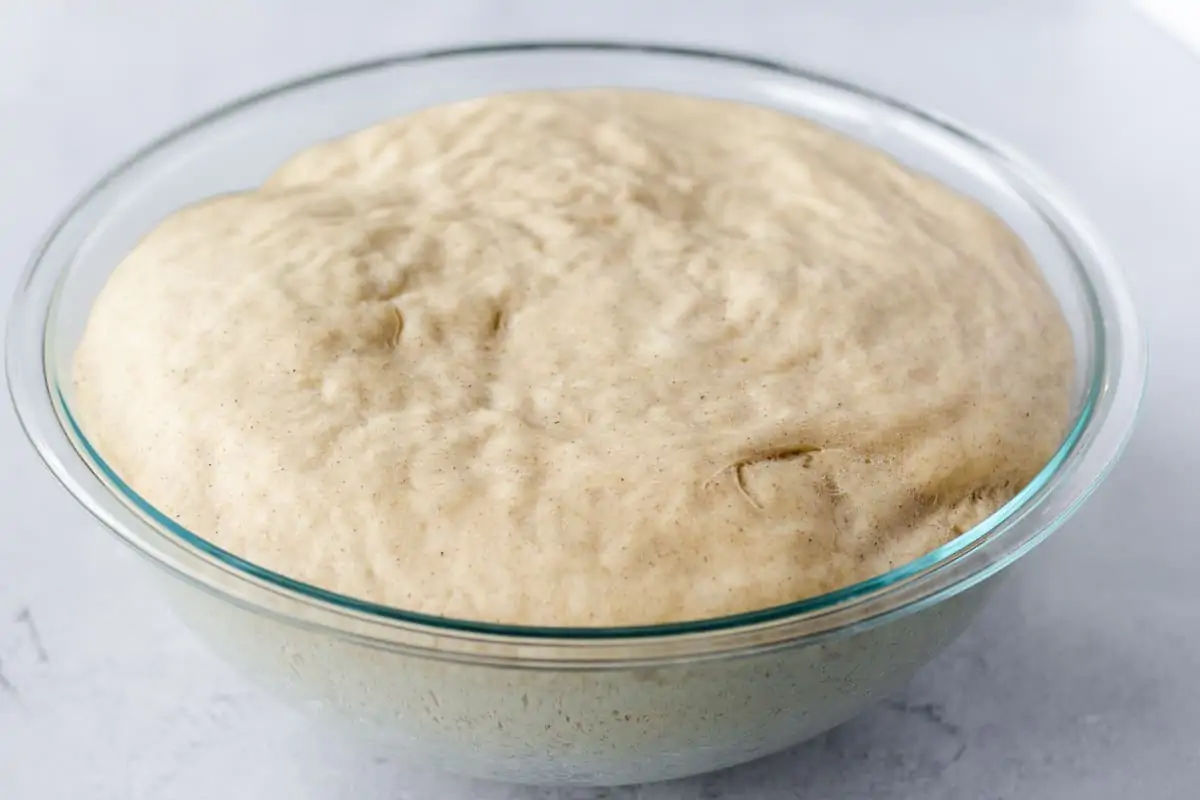
Place the ball of dough in a large, greased bowl. I flip it over to get buttered on both sides, then cover it with plastic wrap or a clean kitchen towel. Allow the bread dough to proof for 1 hour or until it doubles in size. The area needs to be warm and a draft-free place. If you have a proofing option on your oven, that will be the best option. Otherwise, it may take up to 2 hours to rise if your house is cold. You can start on the sugar topping while the dough is on the first rise.
How to Make the Sugar Crust Topping
The base recipe for the sugar crust will produce an off-white topping. In Mexican Bakeries, you’ll find conchas in different colors like pink or yellow. Just add a few drops of food coloring to get the desired color you like. You can divide the mixture by the number of colors you want to make or just keep them all one color.
To make the chocolate crust, add 1 tablespoon of unsweetened cocoa powder to the butter, powdered sugar, and flour mixture. You can also add different flavors, like vanilla, almond extract, or orange extract, to the sugar crust.
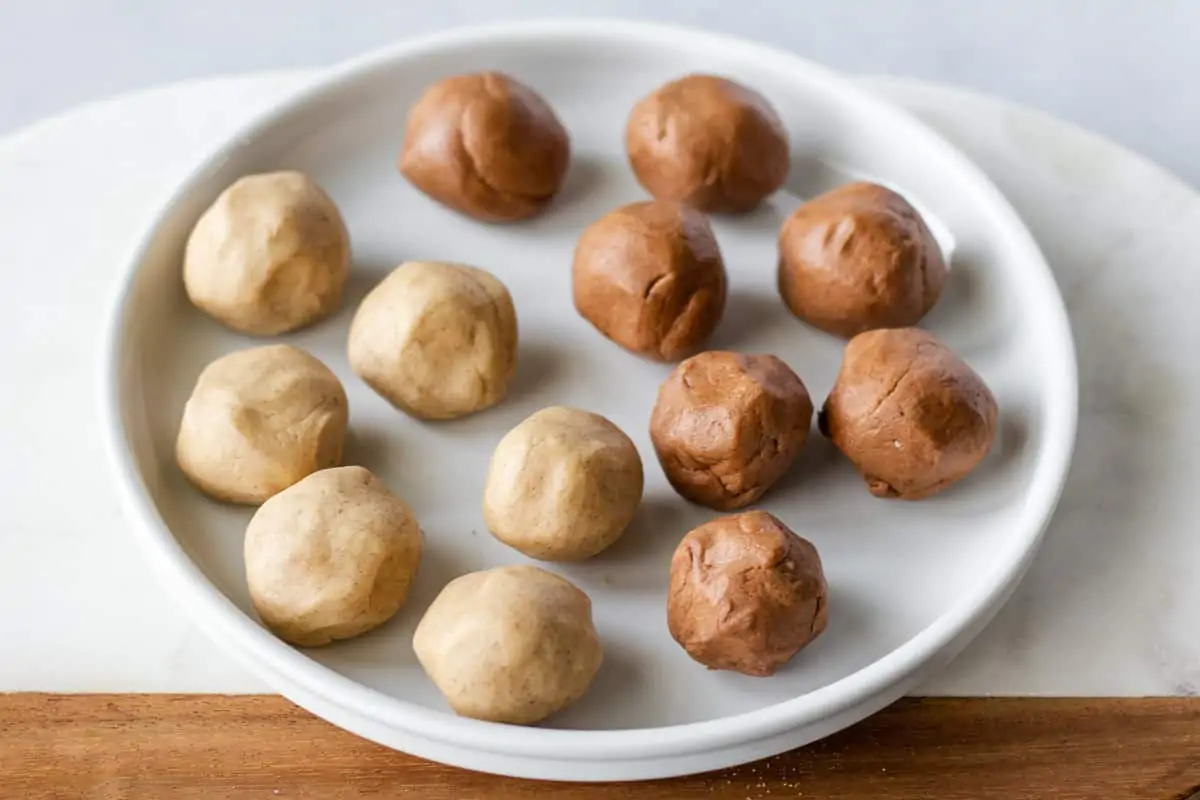
Once the topping is mixed, divide it into equal pieces, about 1 large tablespoon, and roll into a round ball.
Transferring the Sugar Crust
Once the concha dough has doubled, punch it down and roll it back into a ball. For even-sized conchas, use a kitchen scale to weigh each portion. Take a piece of conch dough and roll it into a smooth ball. The weight I used is 3-3.25 ounces. Place the dough balls on a baking sheet lined with a silicon mat or parchment paper.
Now, take the sugar crust ball and flatten it with either a tortilla press or the bottom of a measuring cup. With either method, parchment paper to ensure the sugar topping can be transferred easily onto each dough ball.
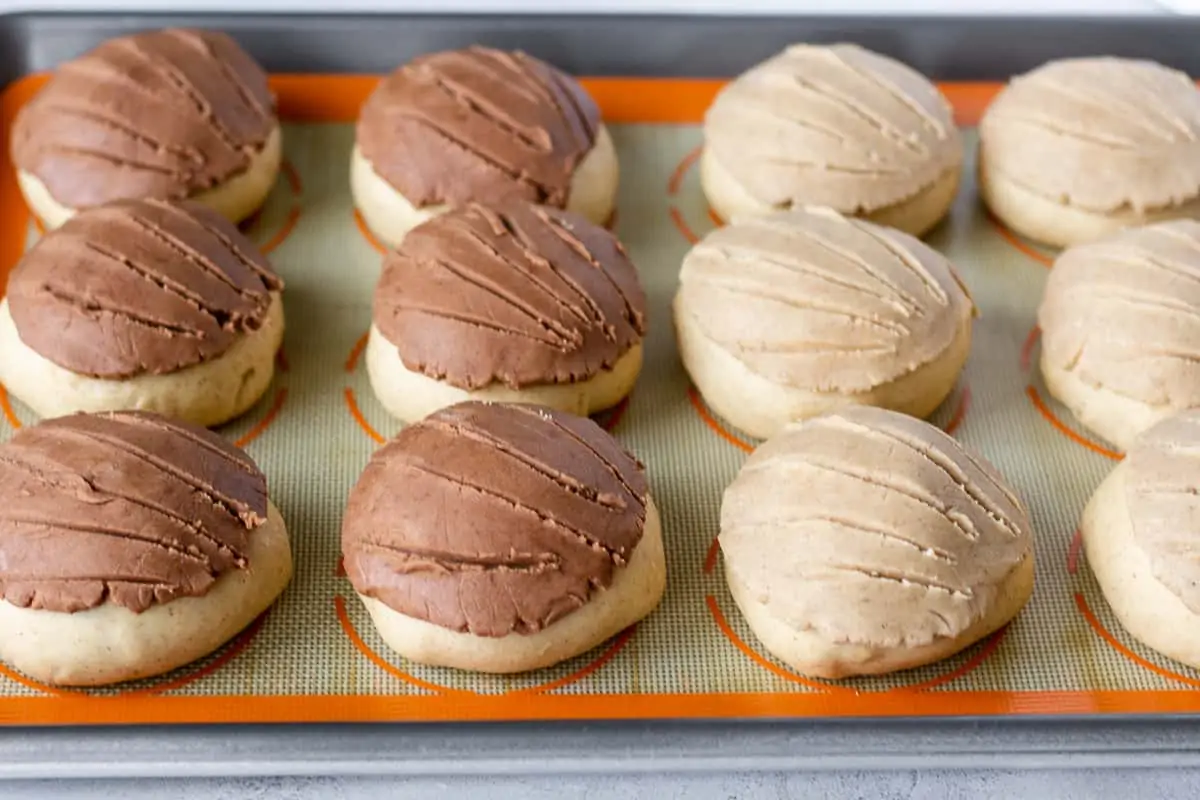
Now the fun part of making the design! You can do a traditional shell pattern, a circular shape, or a checkered pattern. Simply use a butter knife to score your design. I prefer to lightly make the design since the dough will expand more thus making the design spread apart.
Or use this easy concha stamp.
Second Proof and Baking the Conchas
Once the conchas are topped with the sugar crust and the design is carved, cover with a clean kitchen towel and allow to proof again for 1 hour. Make sure the baking tray is placed in a warm area or in a proofing oven. Once the conchas are ready to bake, preheat the oven to 375° F. Be sure to remove them if they are oven-proofing before turning it on!
Bake the conchas for 15-18 minutes, or until the sides are lightly browned and the top has slightly hardened. Allow the conchas to cool on the baking sheet for 5 minutes, then remove them to cool on a wire rack.
My favorite way to enjoy this Mexican sweet bread is while it’s still slightly warm and with a hot cup of coffee. Please try it this way! My kids love conchas with warm milk or a cup of hot cocoa.
Conchas are best served the same day; however, leftovers can be stored in a zip-top bag or sealed container at room temperature for 3 days.
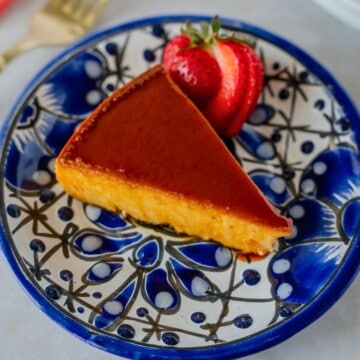
More Mexican Desserts

Conchas Mexican Sweet Bread Recipe
Want to Save This Recipe?
Enter your email & I’ll send it to your inbox. Plus, get great new recipes from me every week!
By submitting this form, you consent to receive emails from Thai Caliente
Equipment
- Oven
Ingredients
Yeast Starter
- 1 ½ cups Whole Milk Warmed to 98-103 degrees (use an instant food thermometer for accurate temp)
- 1 tablespoon Active yeast
- 2 tablespoon White Sugar
Concha Dough
- 4 cups Bread Flour If using All Purpose flour, then you might need more, but start with 4.
- 2 teaspoon Salt
- ¼ cup White Sugar
- 4 tablespoon Melted Unsalted Butter Plus more for greasing the bowl
- 2 Whole Eggs Room Temperature
- 2 teaspoon Cinnamon
Sugar Topping Crust
- ⅔ cup Powdered Sugar
- 1/2 cup Unsalted Butter (1 stick) Room Temperture
- 1 cup All Purpose Flour
- 1 teaspoon Cinnamon
- 1 teaspoon Vanilla Extract
- 1 tablespoon Unsweetened Cocoa Powder For Chocolate Crust Option
- Food Coloring Optional if you want different colored crust
Instructions
Yeast Starter
- Add warm milk, sugar, and yeast to your stand mixer bowl. Set aside for 5 – 10 minutes until the yeast is activated and starts foaming. If the yeast is not foaming, check the expiration date, if still good, then start over and ensure the milk temperature is between 98-103 degrees F. Also make sure your mixer bowl is not too cold.
Concha Dough
- Spoon and level 4 cups of flour and add it to the yeast starter in the mixing bowl. Then add sugar, salt, eggs, melted butter, and cinnamon to the bowl.
- With the dough attachment, turn the mixer on low speed until incorporated, then turn to medium speed for 8 minutes, or until the dough is smooth and has a slight elasticity. If you are using All Purpose flour, or the dough still looks too wet, then add a tablespoon at a time until the dough starts pulling from the sides of the bowl and has some structure. Adding too much flour will cause the dough to be dense. Add 1 tablespoon at a time and mix it for a few minutes before adding more flour.
- For an even softer concha dough, remove the dough from the mixer, and knead by hand for another 5 minutes on a cleaned and floured work surface. Form the dough into a smooth ball and transfer to a clean bowl that has been greased with butter. Then flip over to grease the other side. Cover your dough with plastic wrap or a clean kitchen towel and allow it to proof in a warm place, for 1 hour. If you have a proof setting on your oven, use this. Otherwise if your house is cold, it may take up to 2 hours before it can double in size.
Sugar Crust
- In a clean bowl, combine room temperature butter and powdered sugar, mix until creamy. Add the cinnamon, vanilla, and flour. Continue to mix until a thick paste is formed. Divide the sugar paste into the number of colors you plan on using for the crust. Add desired Food Coloring and mix well. For a chocolate crust, add 1 tablespoon of unsweetened cocoa.
- Then divide sugar paste into 12 equal portions and roll them into a smooth ball and set aside until concha dough has doubled in size.
Making the Conchas
- Once the dough has doubled, punch it down and cut into 3-3.25 ounce pieces (weighing your dough ensures you have an even bake for your bread). This will make approximately 12 dough balls.
- Roll each dough ball into a smooth ball and place onto a lined baking sheet with parchment paper or silicon.
- Place each ball of sugar crust between 2 pieces of plastic wrap or parchment paper. Use the bottom of a 1 cup measuring cup or tortilla press, and press down on the sugar ball to form a flat circle. Remove the top plastic wrap and transfer the sugar crust onto the top of each Concha. Once all the dough balls have been covered, use a butter knife and score the sugar crust to make it look like a shell, spiral circle, or crisscross pattern. Cover with a clean kitchen towel, and allow to rise again for 1 hour in a warm area or proofing oven.
- After an hour, Preheat oven to 375 degrees F. Place Conchas in the oven and bake for 15-18 minutes. Conchas should be slightly browned around the edges and sugar crust slightly hard. Remove and allow them to cool on the baking sheet for 5 minutes then transfer to a wire rack. Serve with a warm cup of coffee or hot chocolate.
Video
Notes
Nutrition
Nutritional information is provided as an estimate only and depends on ingredients and amounts used. Thai Caliente makes no guarantees to the accuracy of this information.
Was very doughy not fluffy at all
I’m sorry the dough was not fluffy. I can help troubleshoot- Adding too much flour can make it more dough, orr not kneading it enough.
I make these conchas every year for Dia de los Muertos and they’re always a hit! The amount of cinnamon is perfect, even for my kid who hates cinnamon rolls. The sugar crust can be little challenging; I’ve subbed shortening for the butter and found it a little easier to get the texture right.
I love that tradition, Jen!! Thanks for sharing your tip about using shortening for the sugar crust. I appreciate you taking the time to write a review!
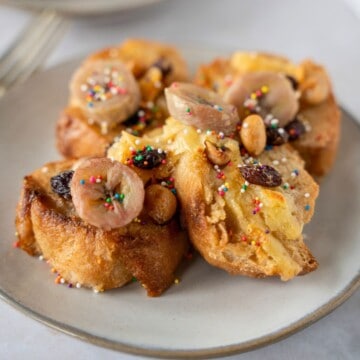
Hello Renee, I am so Delighted, I have come across your site . I too am a Renee ( middle name ). I have looked for so many recipes from my childhood, that I have never had the opportunity to learn, as my grandma lived in Juarez,( Chihuahua,Mex. ) , and I rarely had the opportunity to spend time with them. My father was in the Military, so we were constantly moving. My mother knew very little Latin- Spanish cooking . She too was a Military brat living in Germany and abroad as well. I would watch my Nana cook what little opportunity I could when visiting. I am now living in Oklahoma, my mother, grandma, and Nana are now gone. I remember as a little girl my Nana would make Capriotada ( not sure of spelling). I remember her using cheese, bread, raisins, Spanish peanuts, decorating sprinkles, pellincillo, ( not sure of spelling as well ). It was a Bread Pudding when finished. She always made this around Easter. I wondered if perhaps you might have this recipe. I have come across several recipes ,but they are not made the same and just not what she would make. I would truly appreciate it should you might have it. Many people have bread puddings but eliminate the one made with cheese. I truly appreciate your understanding and kindness with this old fussy lady who was trying to find an old memory. Thank you
Hi Juliet- I’m so happy you found my site, and thank you for sharing your story 🙂
I’ve been meaning to make Capirotada but have not posted it yet. Be sure to sign up for my newsletter, this is where I send new recipes. Did you make the conchas? These are my absolute favorite 🙂
Hi Juliet! Did you get a chance to look at my capirotada recipe? https://thaicaliente.com/capirotada/
What beautiful colors!!
Thank you Marci! I tried to get them brighter, but I was using natural food coloring so not as vibrant.