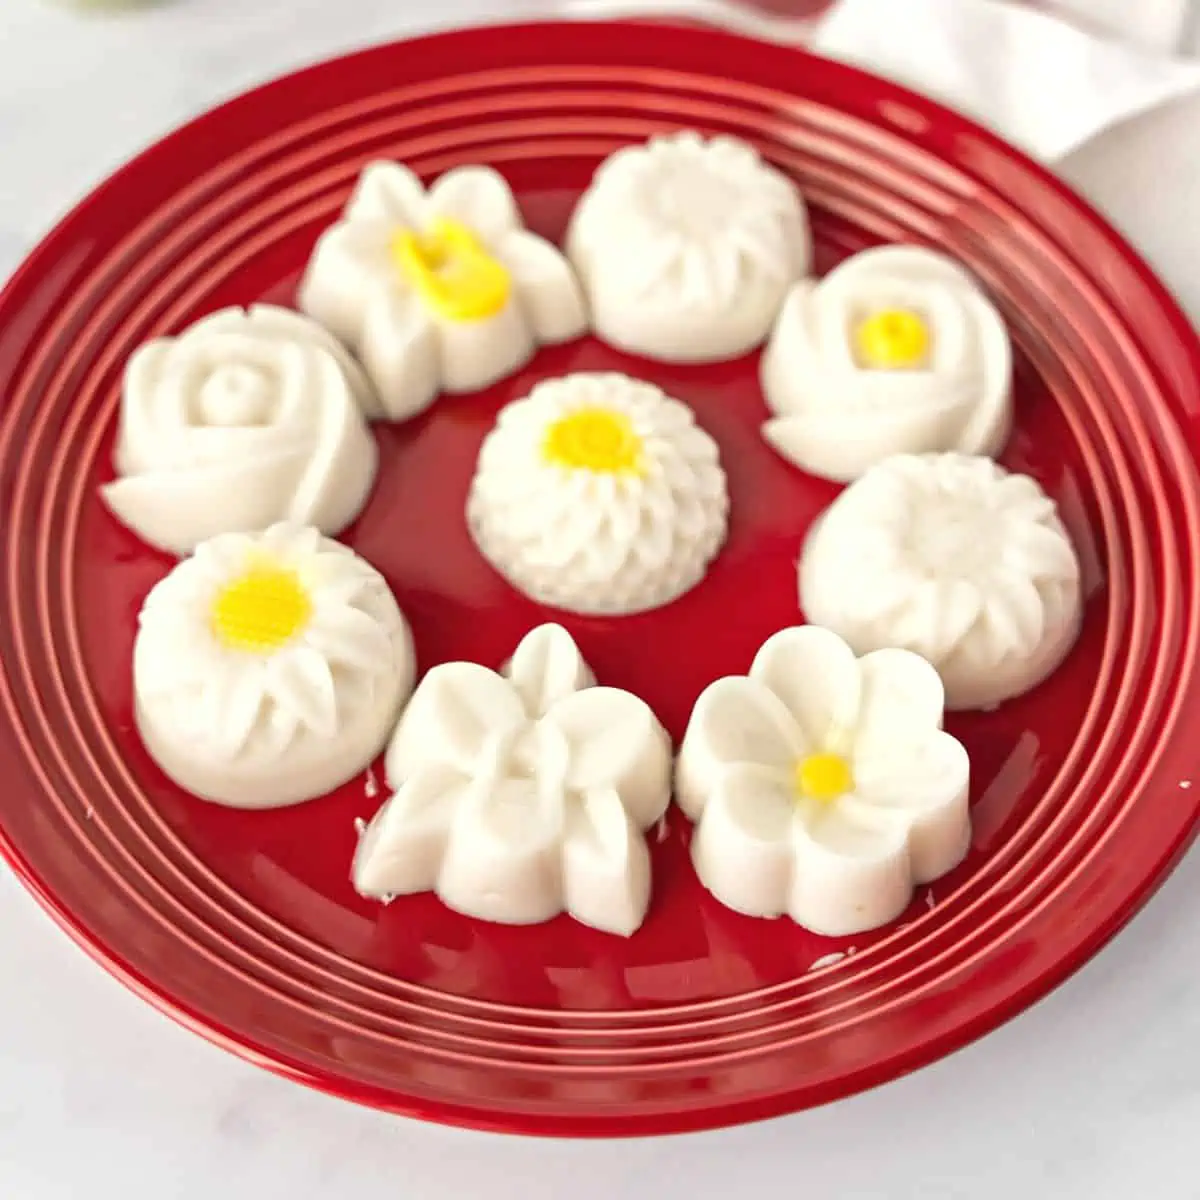
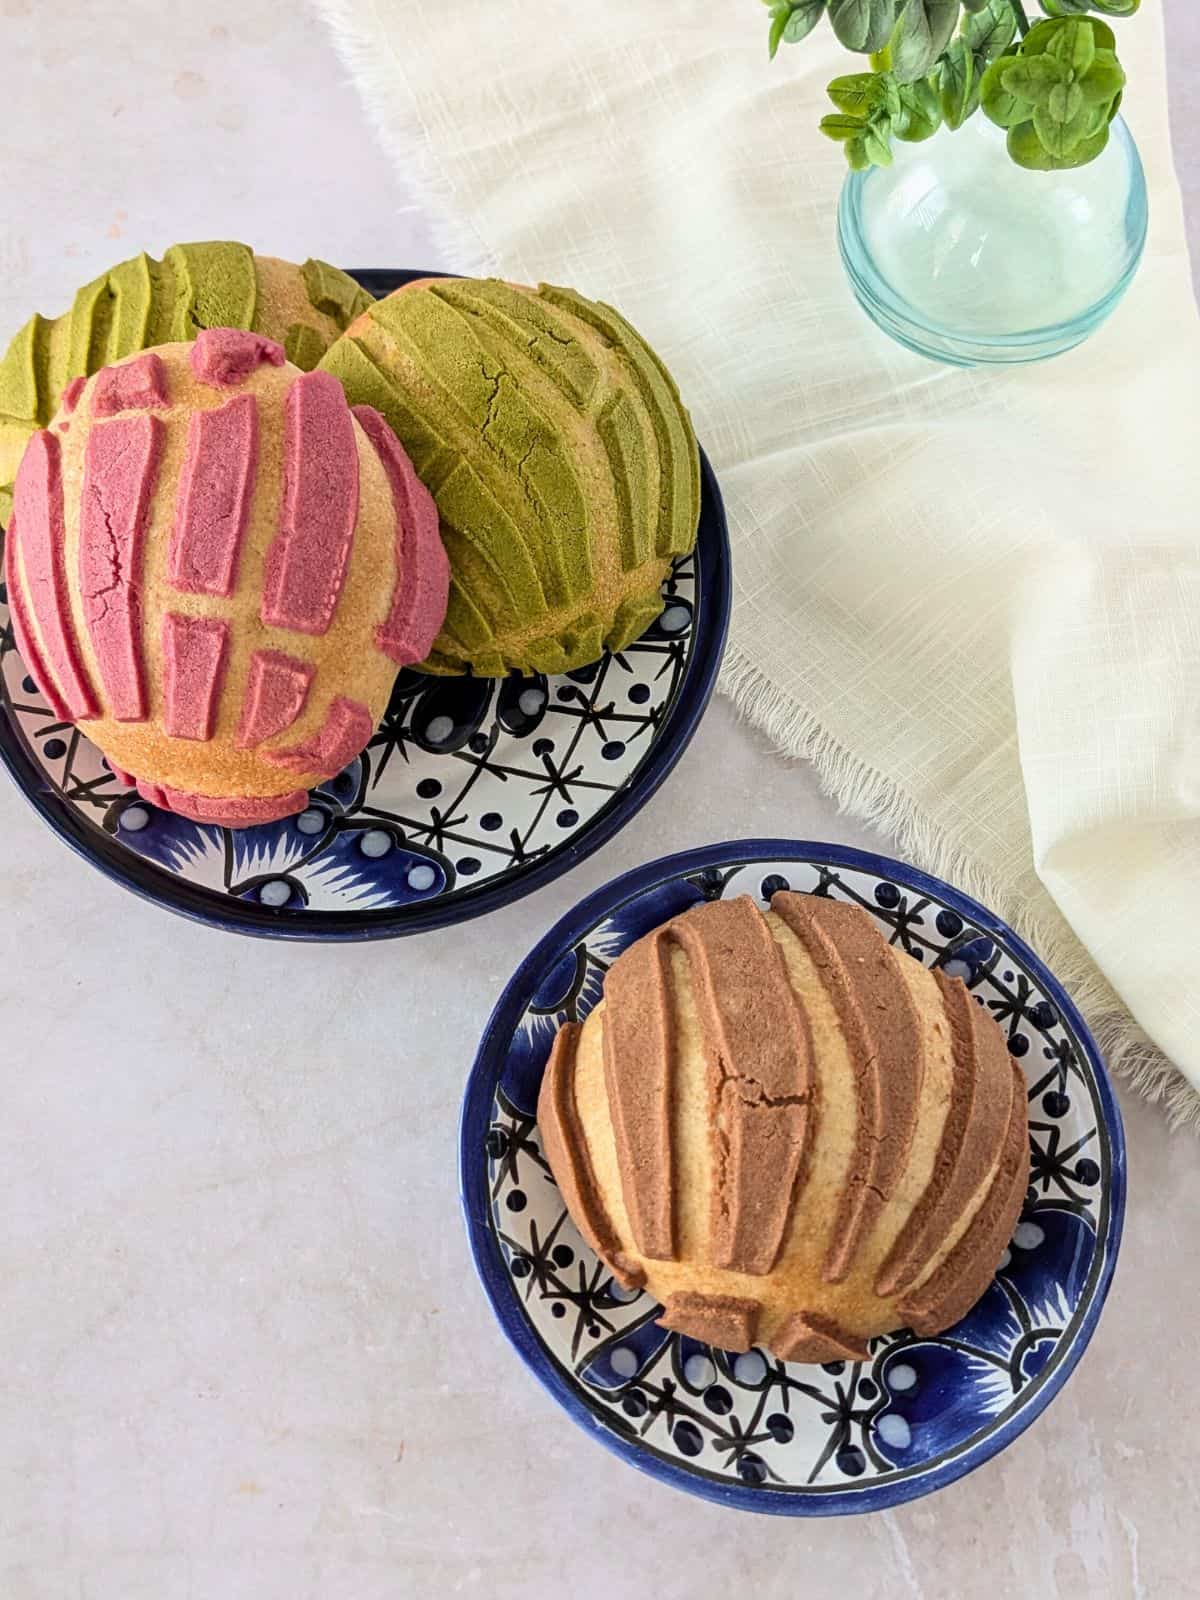
Sourdough Conchas
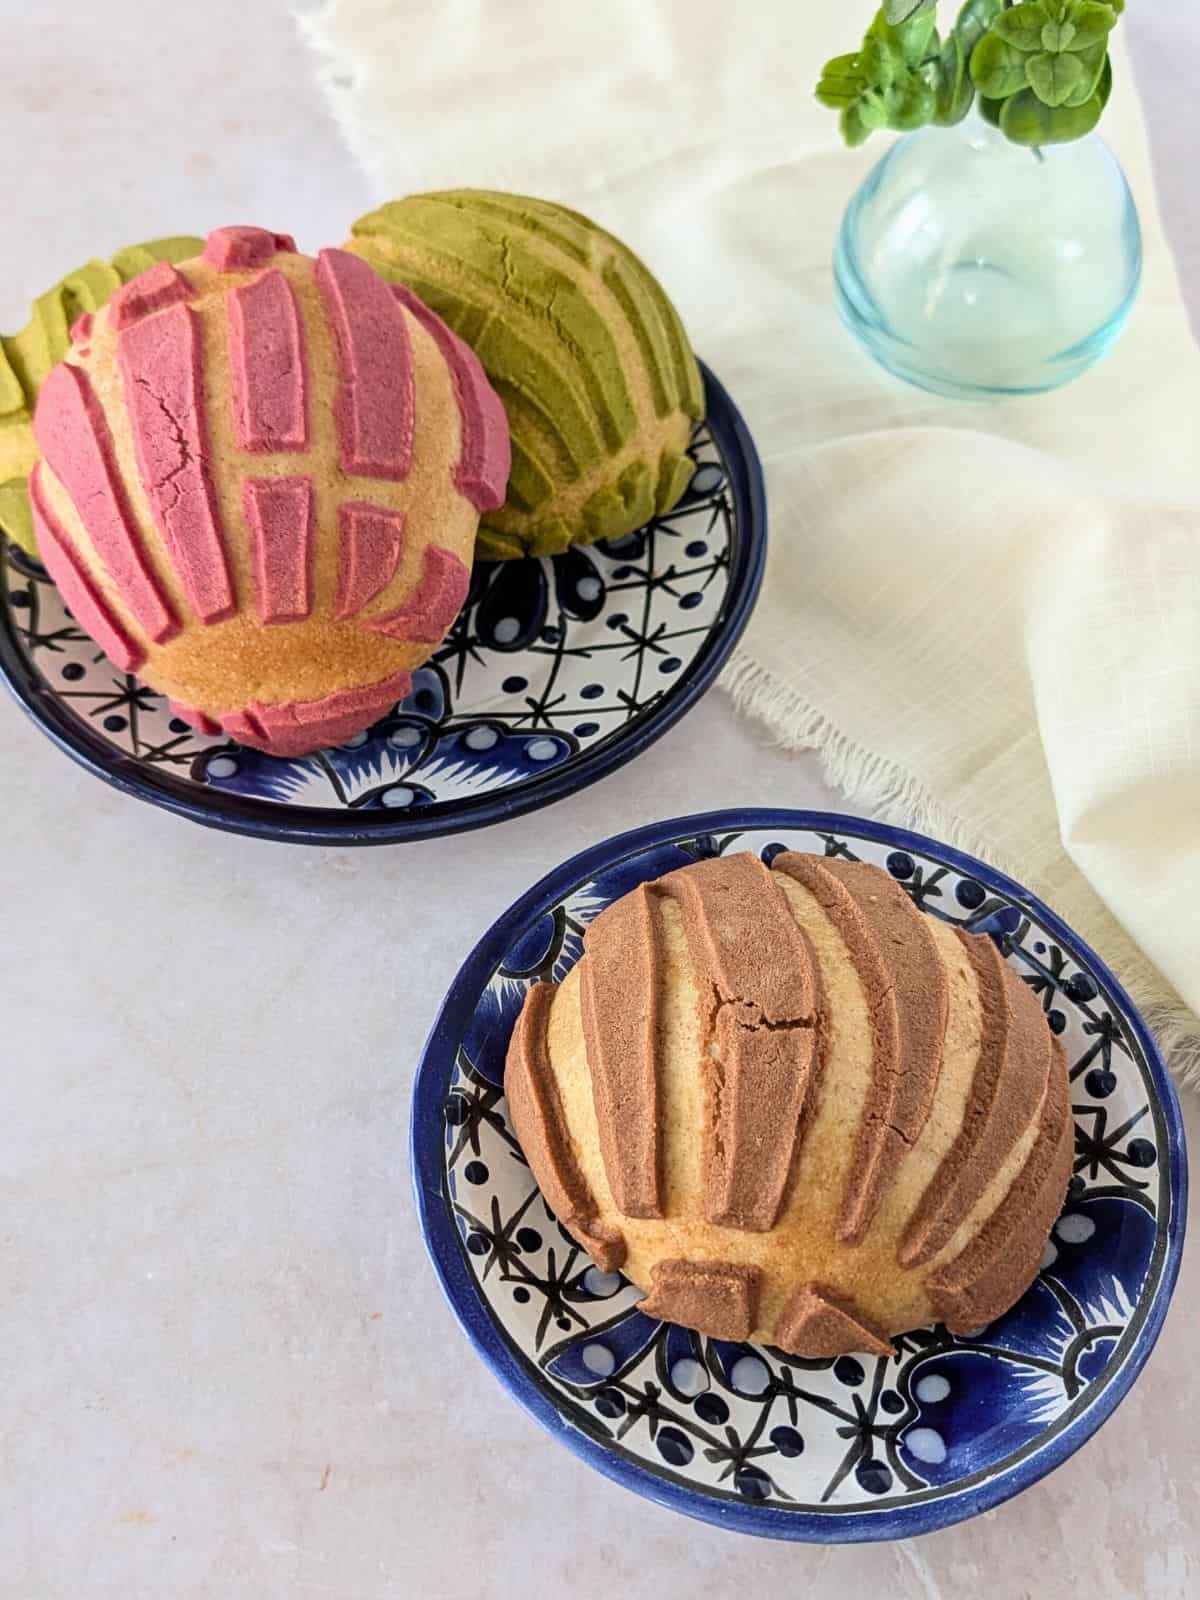
Conchas are a type of Pan Dulce or Mexican Sweet Bread. Just like traditional conchas, these sourdough conchas are soft, slightly sweet, and go perfectly with a cup of coffee or hot chocolate.
Making sourdough bread is one of the things I look forward to each week. Since switching to sourdough, I’ve had better glucose control, and I simply love the taste.
If you are new to sourdough, I don’t have a complete guide, but my friend Joanie at the Dinner Bell has a comprehensive sourdough starter guide. So check that out if you are new to sourdough.
Ingredient Notes
You can find the full list of ingredients in the Recipe Card below. Here are some notes on a few of the ingredients needed:
- Sourdough Starter– I’ve only tested this recipe with active sourdough starter. My starter is pretty active and can be used a few hours after feeding. If yours is not as active, then you may need to feed it the night before.
- Bread Flour- Bread flour has a higher protein and gluten content than all-purpose flour. Which makes the dough more elastic. I’ve made the regular concha recipe with all-purpose flour and found I needed to use more to make the dough less sticky.
- Warm milk– heating the milk allows the dough to be a warmer temperature, thus helping the dough proof faster.
- Eggs– Along the same line, using room temperature eggs also helps the dough temp to stay warmer. I like to crack my eggs into a bowl, then measure and prep the remaining ingredients.
- Food coloring– I prefer to use natural food coloring, and you may need to use slightly more to get a brighter hue, so just keep that in mind.
Sample Baking Schedule:
Here is the schedule I used to make the sourdough conchas. Remember, if your starter takes longer than 6 hours to double in size after a feeding, then feed it the night before you start.
| Time | Step |
| 7:00 am | Feed Starter 1:1 ratio to have at least 100 grams of active starter |
| 2:00 pm | Mix the Concha Dough and let it proof until it doubles in size (5-7 hours) |
| 8:00 pm | Place proof dough in the refrigerator overnight |
| 8:00 am | Shape conchas and add sugar crust. Proof for 2 hours |
| 11:00 am | Bake for 20-25 minutes |
Tips and Troubleshooting
Here are some tips to help you execute this recipe successfully.
- Sticky Dough– If the concha dough is sticky after 10 minutes of mixing, then add 1 tablespoon of bread flour and continue mixing for a couple of minutes. You can add more if needed, 1 tablespoon at a time, and mix each time. Once the dough starts pulling away from the sides, it’s good. Adding too much flour can cause the dough to become denser.
- Proofing time– You want the dough to double in size during proofing. This may take longer or shorter than the 6 hours it took me. I use a glass bowl to gauge the size of the dough. Mine also has a lid, and I place the same bowl in the refrigerator for the overnight proof.
Shaping and the Sugar Crust
After the overnight proof is done, you can shape the concha dough balls and mix the sugar crust. Use barely softened butter for the sugar crust. If it’s too soft, it will make the crust difficult to shape. If it’s still too soft and a little more powdered sugar and flour until you get a stiffer consistency. It should feel like play dough.
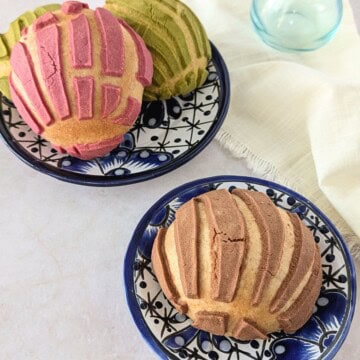
You can add any flavor to the sugar crust with extracts, or as I did with Matcha and Cocoa powder. I find it easiest to flatten the sugar crust between 2 pieces of parchment paper, then transfer to the dough ball
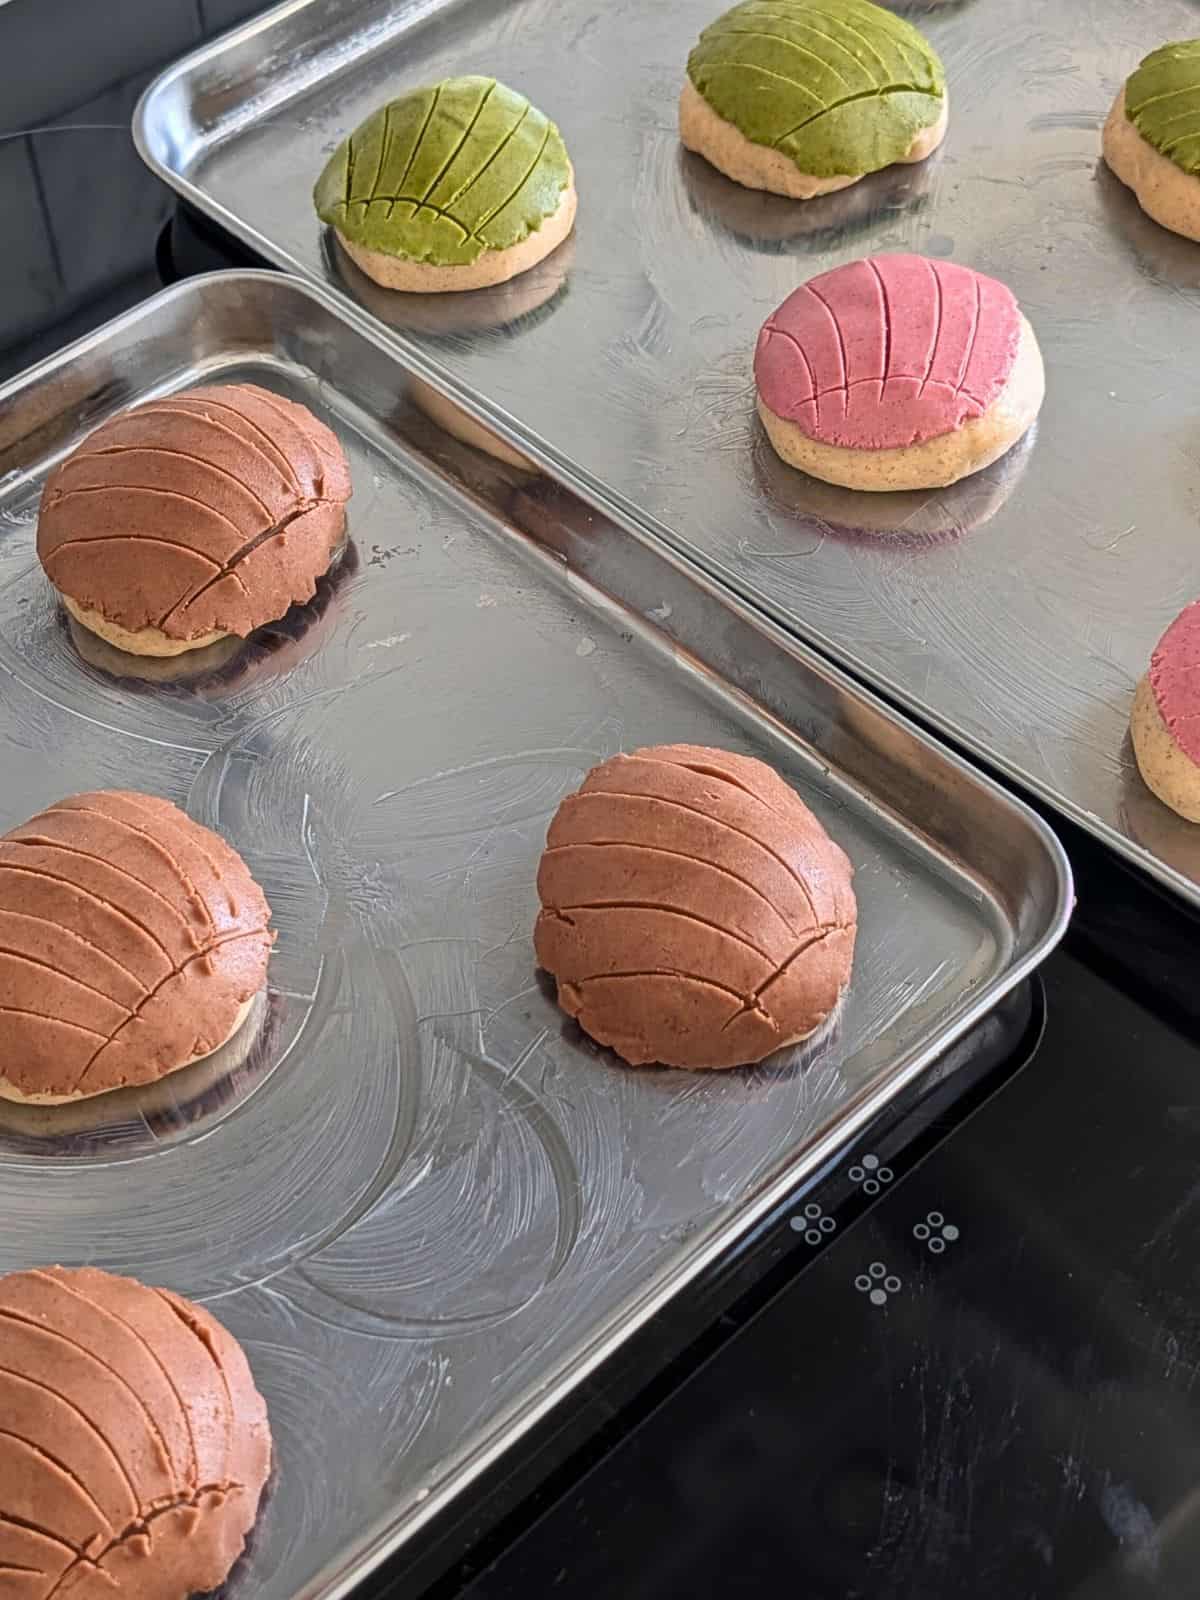
For the design, you can use a butter knife to make a shell design, or use this concha stamp. I placed and scored the sugar crust prior to the final proof. You can see that my sugar crust has large separations.
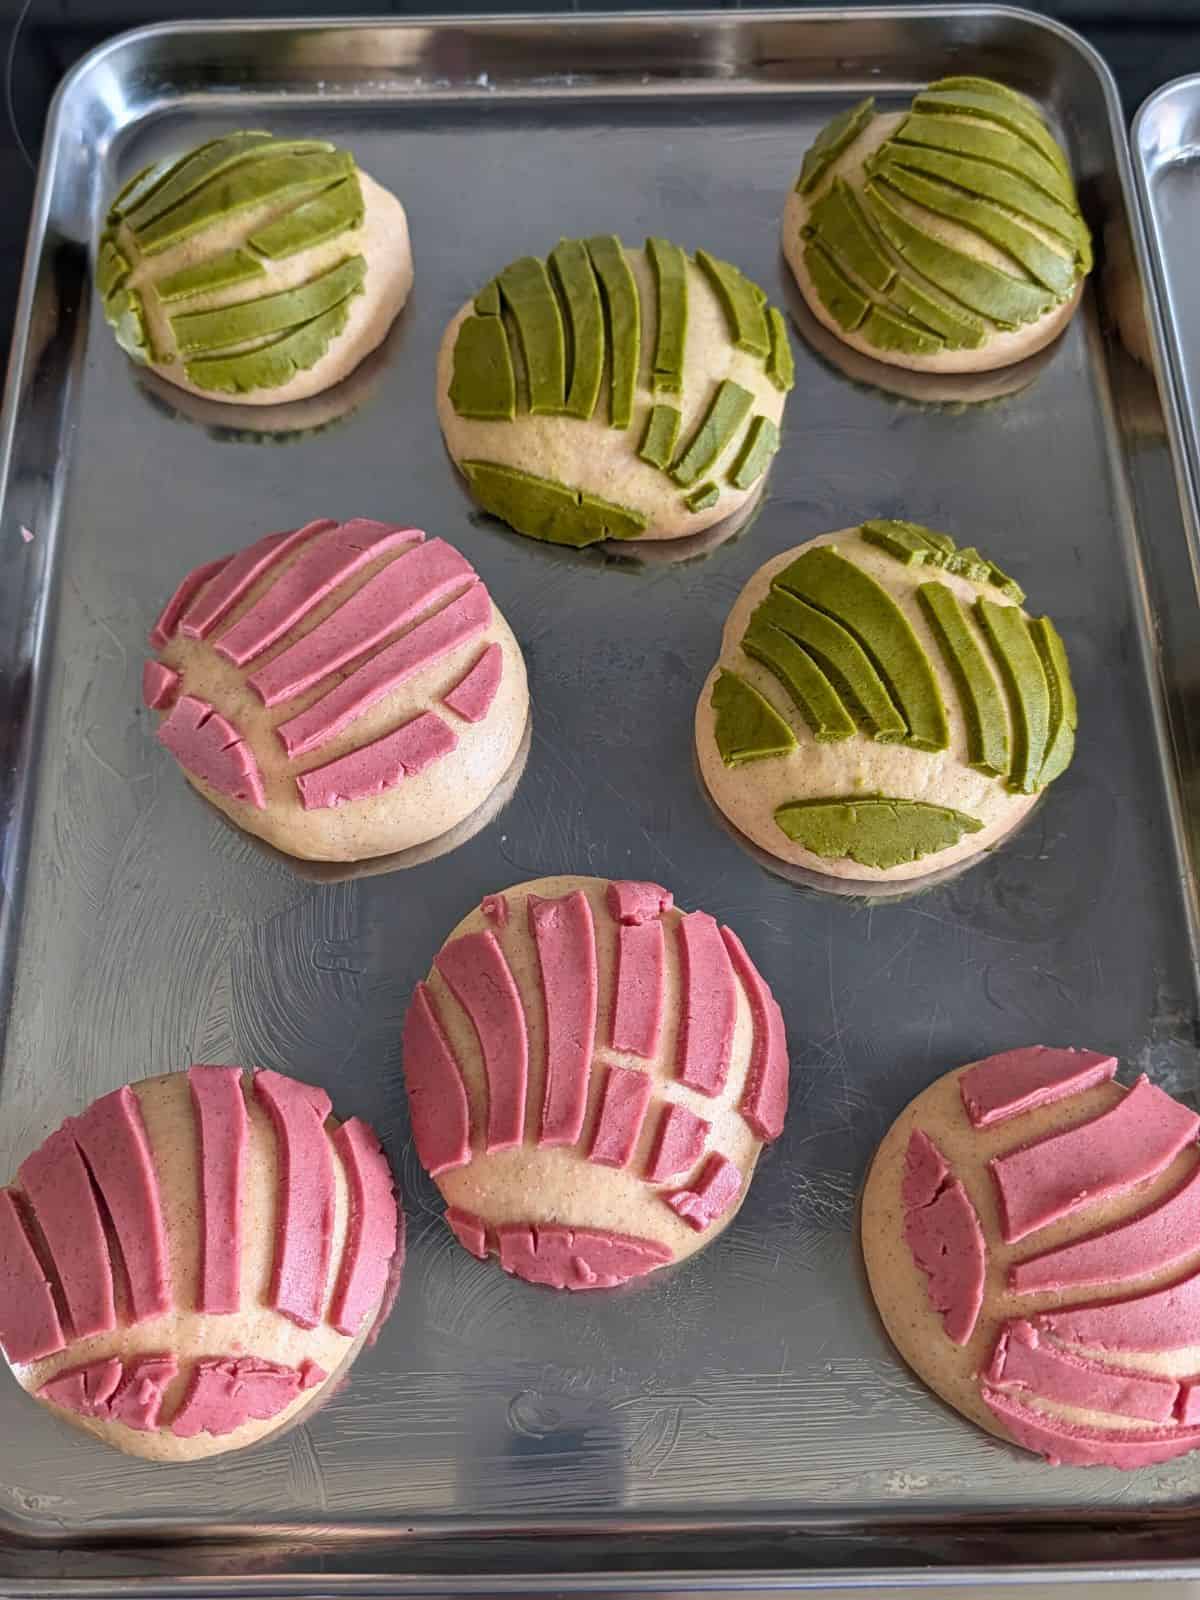
Alternatively, you can allow the dough to do its final proof, then place the sugar topping and score it. This will allow more sugar crust coverage.
Once the concha dough balls have doubled in size, you can bake them. The smell of fresh baked conchas is amazing! Allow them to cool slightly and enjoy them warm for the best taste.
Storing and Reheating
Once the conchas have cooled, store any leftovers in a zip-top bag or sealed container. Keep them at room temperature for up to 3 days.
You can also freeze conchas for up to 3 months. Wrap each one with plastic wrap, then place it in a freezer-safe bag. To reheat, remove the plastic wrap and bake at 350°F for 5 minutes or until warmed through. You can also microwave frozen conchas for 30 seconds or until warmed through.
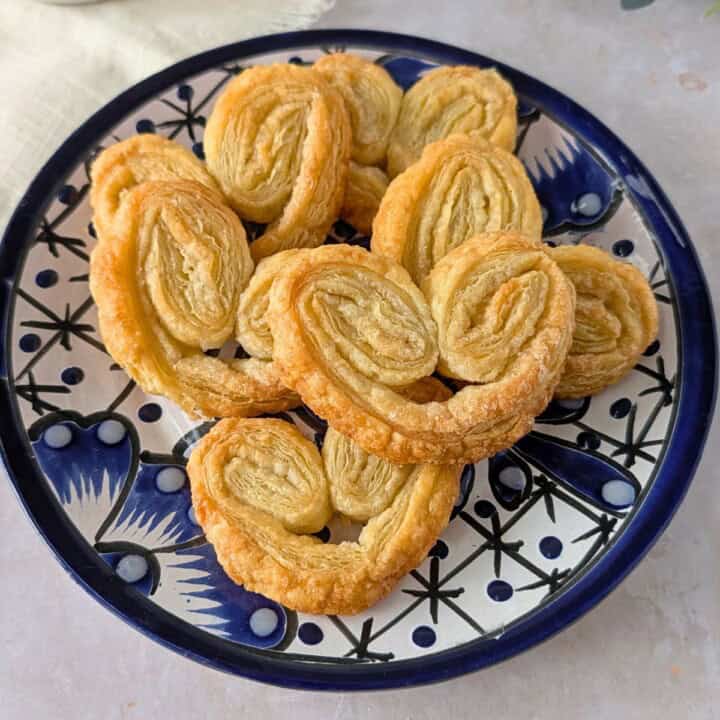
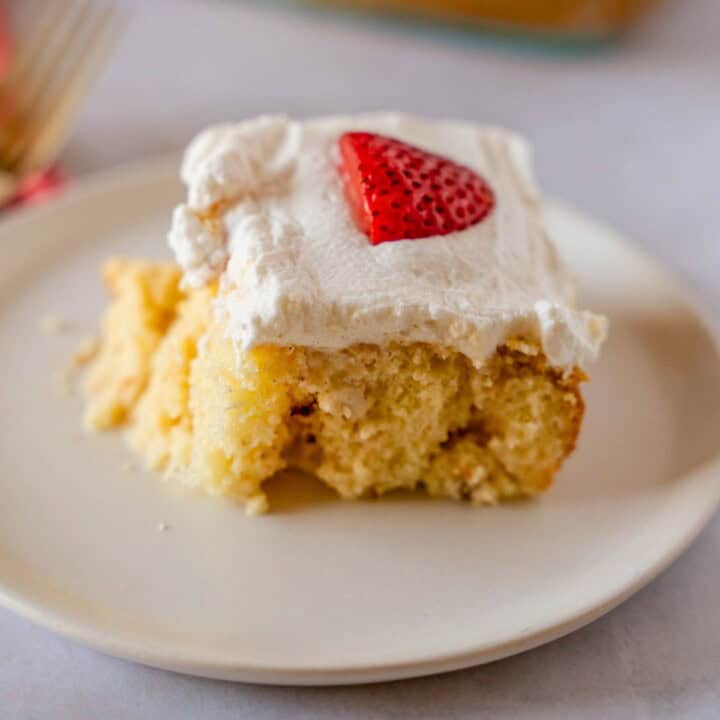
More Mexican Desserts


Sourdough Conchas
Want to Save This Recipe?
Enter your email & I’ll send it to your inbox. Plus, get great new recipes from me every week!
By submitting this form, you consent to receive emails from Thai Caliente
Equipment
- Stand Mixer with dough hook attachment
- Oven
Ingredients
Concha Dough
- 100 grams Active Sourdough Starter
- 250 grams Whole Milk Warmed to 98-103 degrees (use an instant food thermometer for accurate temp)
- 500 grams Bread Flour
- 80 grams White or Granulated Sugar
- 10 grams Ground Cinnamon
- 10 grams Salt
- 8 tablespoon Melted Unsalted Butter Plus more for greasing the bowl
- 2 Whole Eggs Room Temperature
Sugar Topping Crust
- 1 cup Powdered Sugar
- 8 tablespoon Unsalted Butter Room Temperture
- 1 cup All Purpose Flour
- 1 teaspoon Cinnamon
- 1 teaspoon Vanilla Extract
- 1 tablespoon Unsweetened Cocoa Powder For Chocolate Crust
- 2 teaspoons Matcha powder For Matcha Crust
- Food Coloring Optional if you want different colored crust
Instructions
Concha Dough
- Use the bowl of a stand mixer and place it on a digital scale to weigh out each ingredient. I prefer to zero it out each time. Add the active sourdough starter and warm milk, then either use a spoon to mix or place it in the mixer and use the dough hook to combine. Place the bowl back on the scale and add the remaining ingredients- Bread Flour, Sugar, Salt, Ground Cinnamon, Melted Butter, and Eggs.
- With the dough attachment, turn the mixer to low speed until the dough is incorporated, then to medium speed for about 10 minutes, or until the dough is smooth and slightly elastic. After 10 minutes, if the dough is still sticking to the sides of the bowl, add 1 tablespoon of bread flour and continue mixing until it starts to pull away from the sides and the dough has some structure. Adding too much flour will cause the dough to be dense. Add 1 tablespoon at a time and mix it for a few minutes before adding more flour.For an even softer concha dough, remove the dough from the mixer and knead by hand for another 5 minutes on a clean, floured work surface.
- Form the dough into a smooth ball and transfer it to a clean bowl greased with butter. Then flip the dough over to grease the other side. Cover your dough with plastic wrap or a lid and allow it to proof at room temperature until it doubles in size. This can take anywhere from 5 to 7 hours, depending on the temperature of your kitchen and the strength of your starter.
- Once the dough has doubled in size, keep the lid or wrap on the bowl and place it in the refrigerator to cold proof overnight for 8 to 12 hours.
- The next morning, take the dough out of the bowl onto a clean surface. Gently roll it out into an even-shaped log. Use a bench scraper or knife to cut even pieces of dough. I like to weigh each piece to 85 grams for consistency.
- Roll each dough ball into a smooth ball and place onto a buttered baking sheet about 3 inches apart. Allow the dough balls to rest while you make the sugar crust topping.
Sugar Crust
- In a clean bowl, combine room temperature butter and powdered sugar, mix until creamy. Add the cinnamon, vanilla, and flour. Continue mixing until a soft dough forms.Divide the sugar paste into the number of colors you plan on using for the crust. In this case, I used 3. For a chocolate crust, add 1 tablespoon of unsweetened cocoa, for the matcha, add 2 teaspoons, and for the plain crust, you can leave it as is or add a few drops of food coloring.
- Divide the sugar paste into 14 equal portions, then roll each portion into a smooth ball. Place each ball of sugar crust between 2 pieces of parchment paper. Use the bottom of a 1 cup measuring cup or tortilla press, and press down on the sugar ball to form a flat circle. Don't make it too thin. Carefully remove the sugar crust and drape it onto the top of each Concha.
- Once all the dough balls are covered, use a butter knife to score the sugar crust into a shell, spiral, or crisscross pattern. Cover with plastic wrap and let rise until doubled in size. This took 2 hours for me.
- Preheat the oven to 375°F and remove the plastic wrap. Place the conchas in the preheated oven and bake for 20 to 25 minutes. The conchas should be lightly browned around the edges. Allow them to cool on the baking sheet for 5 minutes, then remove and place conchas on a wire rack to cool.
Video
Notes
Nutrition
Nutritional information is provided as an estimate only and depends on ingredients and amounts used. Thai Caliente makes no guarantees to the accuracy of this information.