Coconut Agar Jelly
This Thai coconut jelly dessert is made with agar agar for an easy chilled dessert that’s both vegan and gluten free.
YouTube Viewer Raquel Says: “I would love these – I’m so glad I come across this recipe. Thank you so much!”
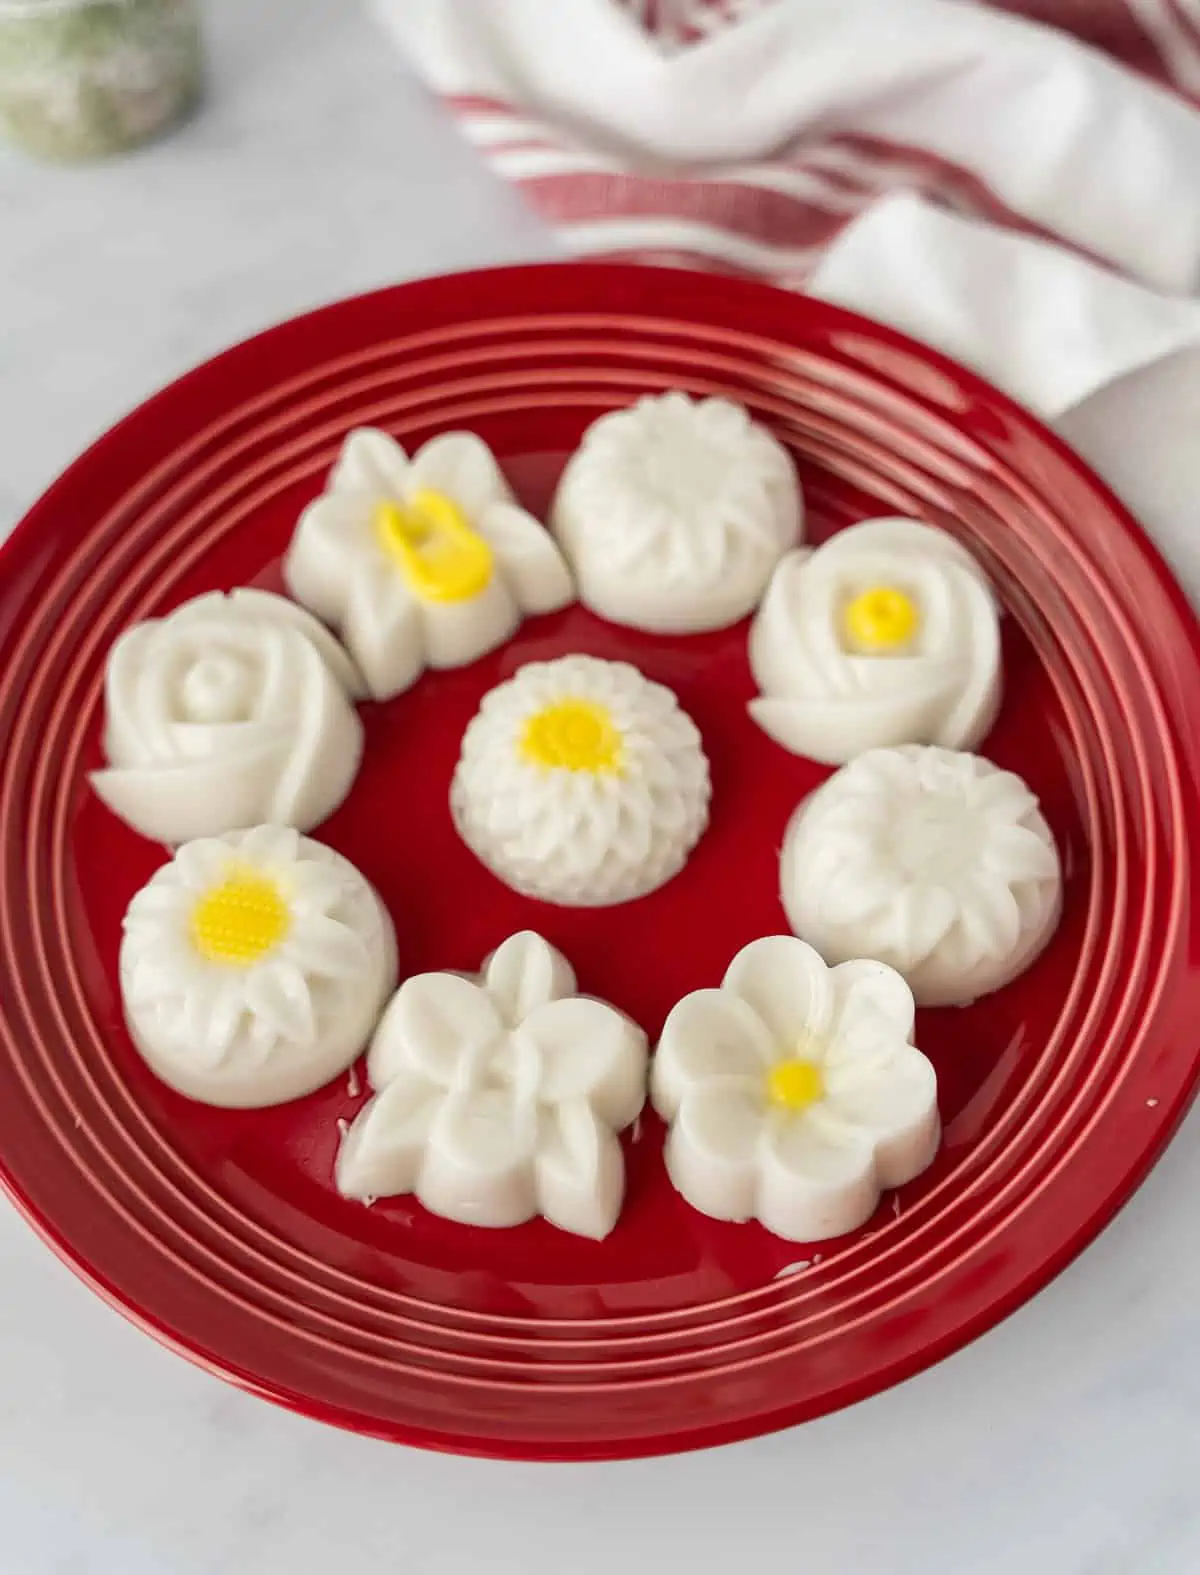
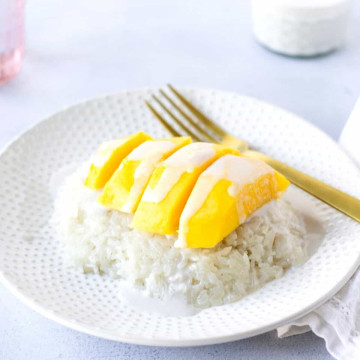
Coconut agar jelly has both coconut milk and coconut chunks for a sweet, chilled, tropical treat. Try this dessert for Thai Sticky Rice and Mango.
What is Agar Agar? It’s a plant-based gelatin that’s made from seaweed. Agar agar is a popular ingredient in many Southeast Asian dessert recipes.
Ingredients
I’ve linked the ingredients below on Amazon, but they will be cheaper at an Asian market.
- Agar agar powder
- Coconut Milk for desserts or regular Coconut Milk
- Coconut Pulp
- Coconut Extract
- Sugar, Salt, and Water
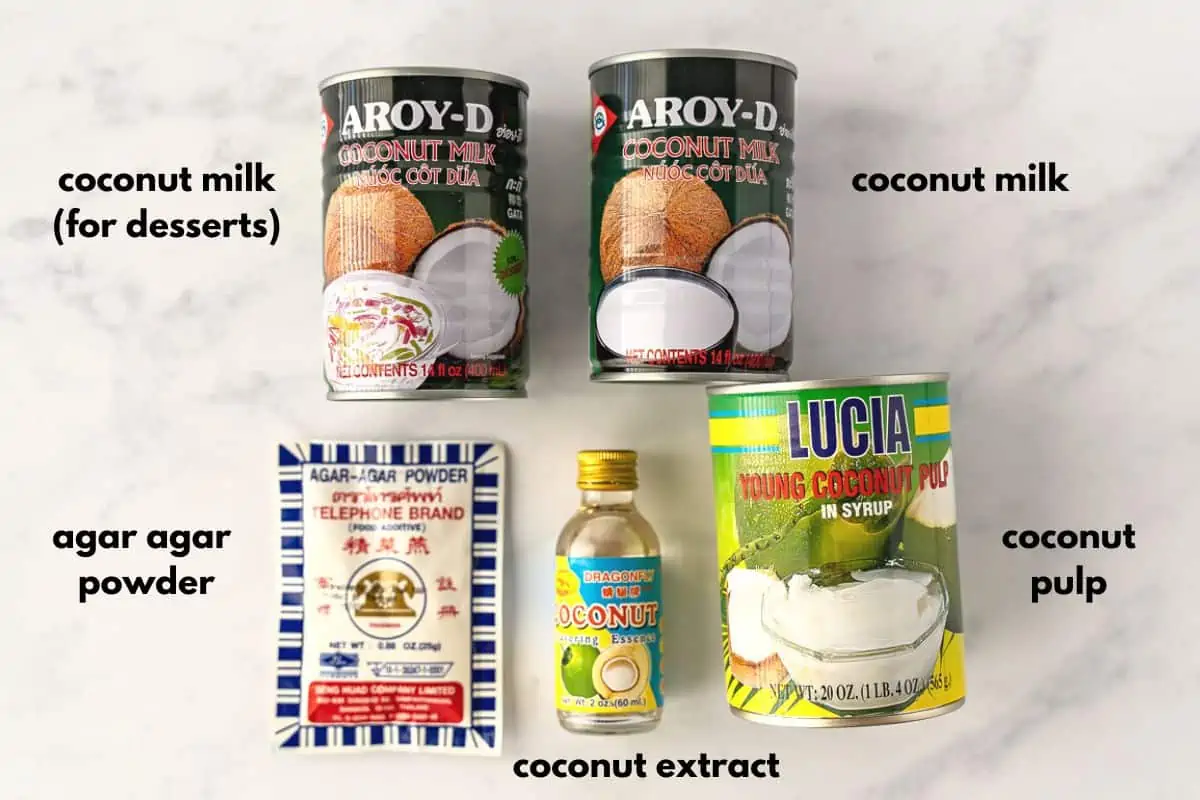
I’ve only made this recipe with these ingredients and therefore cannot offer suggestions for substitutions.
How to Make Coconut Agar
The agar agar needs to ‘bloom’ before we can begin making the coconut jelly dessert. In a large saucepan, add 3 cups of water and sprinkle 2 tablespoons of agar agar powder, let that sit for 15 minutes.
Measure out 3 cups of coconut milk. You can either use regular coconut milk or the coconut milk for desserts. This is about 1 and a half cans. Save the remaining coconut milk for cooking or a smoothie.
Add sugar, salt, and coconut extract to the coconut milk and stir to combine, set aside. Remove the coconut pulp from the syrup and slice it into even small pieces; set aside.
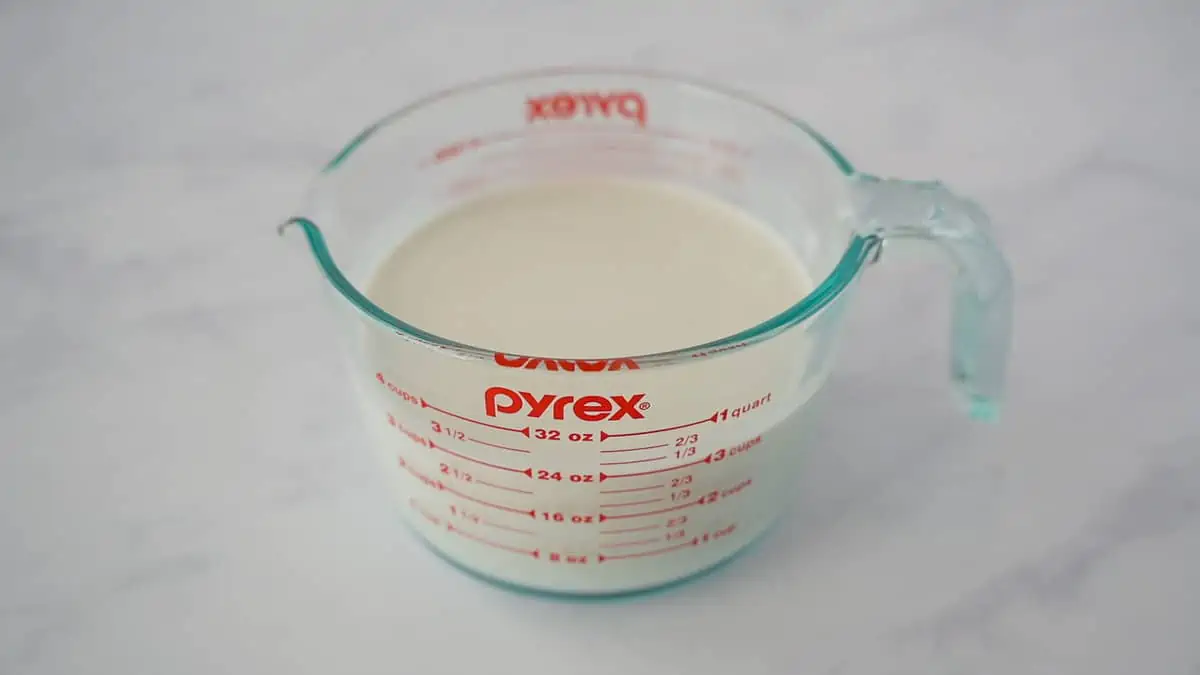
Once 15 minutes have passed, place the water and agar agar powder over medium heat. Stir often until the mixture is simmering, then lower the heat. Continue stirring for 5 minutes. Then, stir the coconut milk mixture and coconut pulp to dissolve the sugar over low heat.
How to Set the Jelly
Once cooled, the agar agar begins to set, so keep the mixture over low heat until ready.
There are several options for placing the jelly. I’m using these individual silicon molds, but you can use any type of silicon mold, small glasses, ramekins, or pour it into a large glass dish.
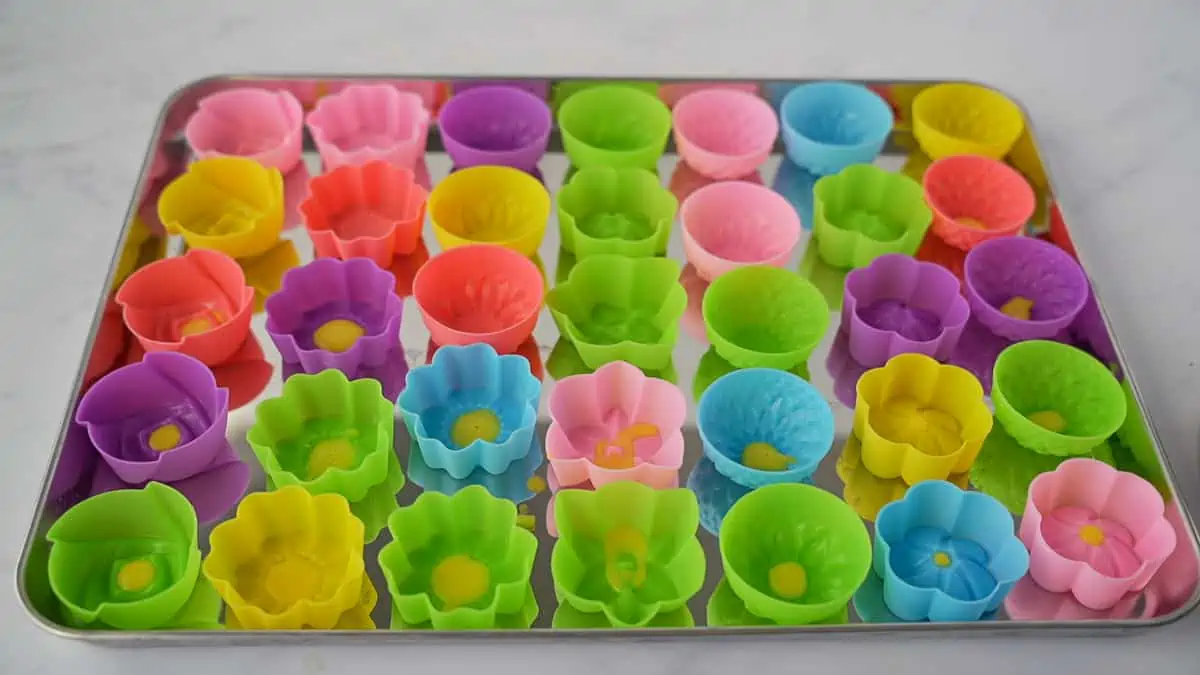
My mom wanted to add some yellow coloring to the flower mold. To do so, reserve some of the jelly mixture while it is still warm and add food coloring of your choice.
In this case, we did yellow and used a dropper to place a small amount right in the center of the mold to represent the pollen.
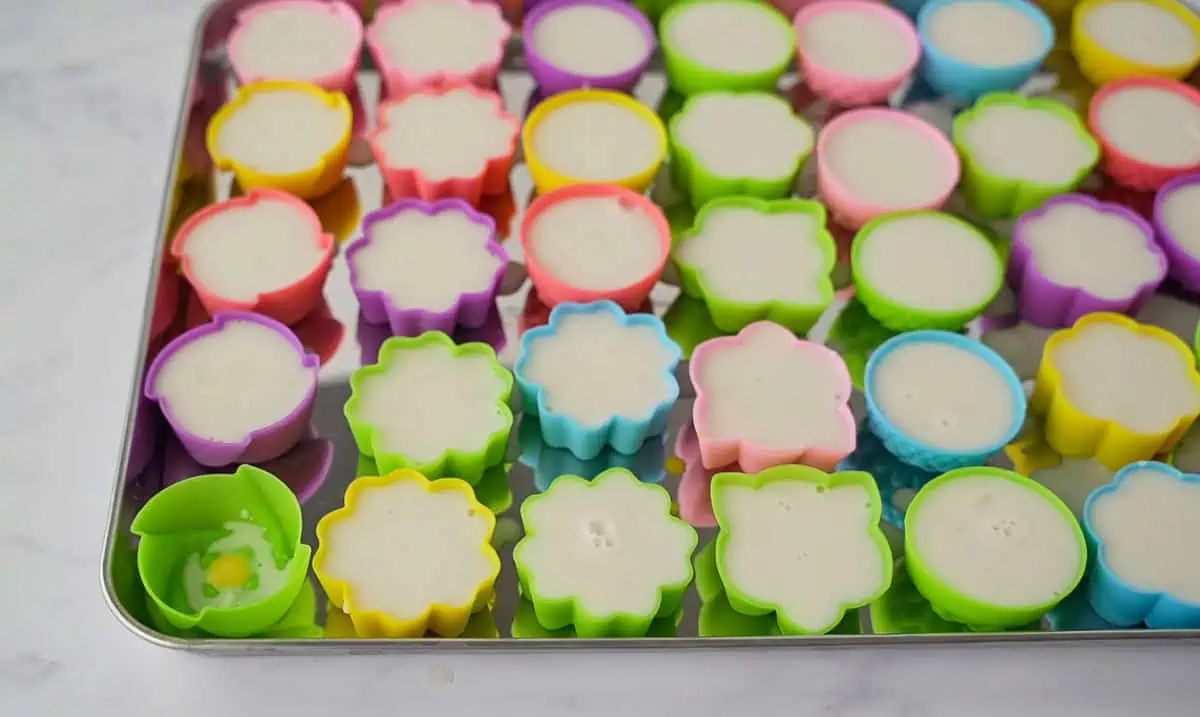
Then fill the molds, glasses or a large dish, with the warm coconut milk mixture. The jelly needs to set in the refrigerator for at least 30 minutes.
If it still feels soft, then leave it longer. You can speed up the setting process by using the freezer. If using molds, unmold the jelly prior to serving. For the dish method, slice the jelly into squares.
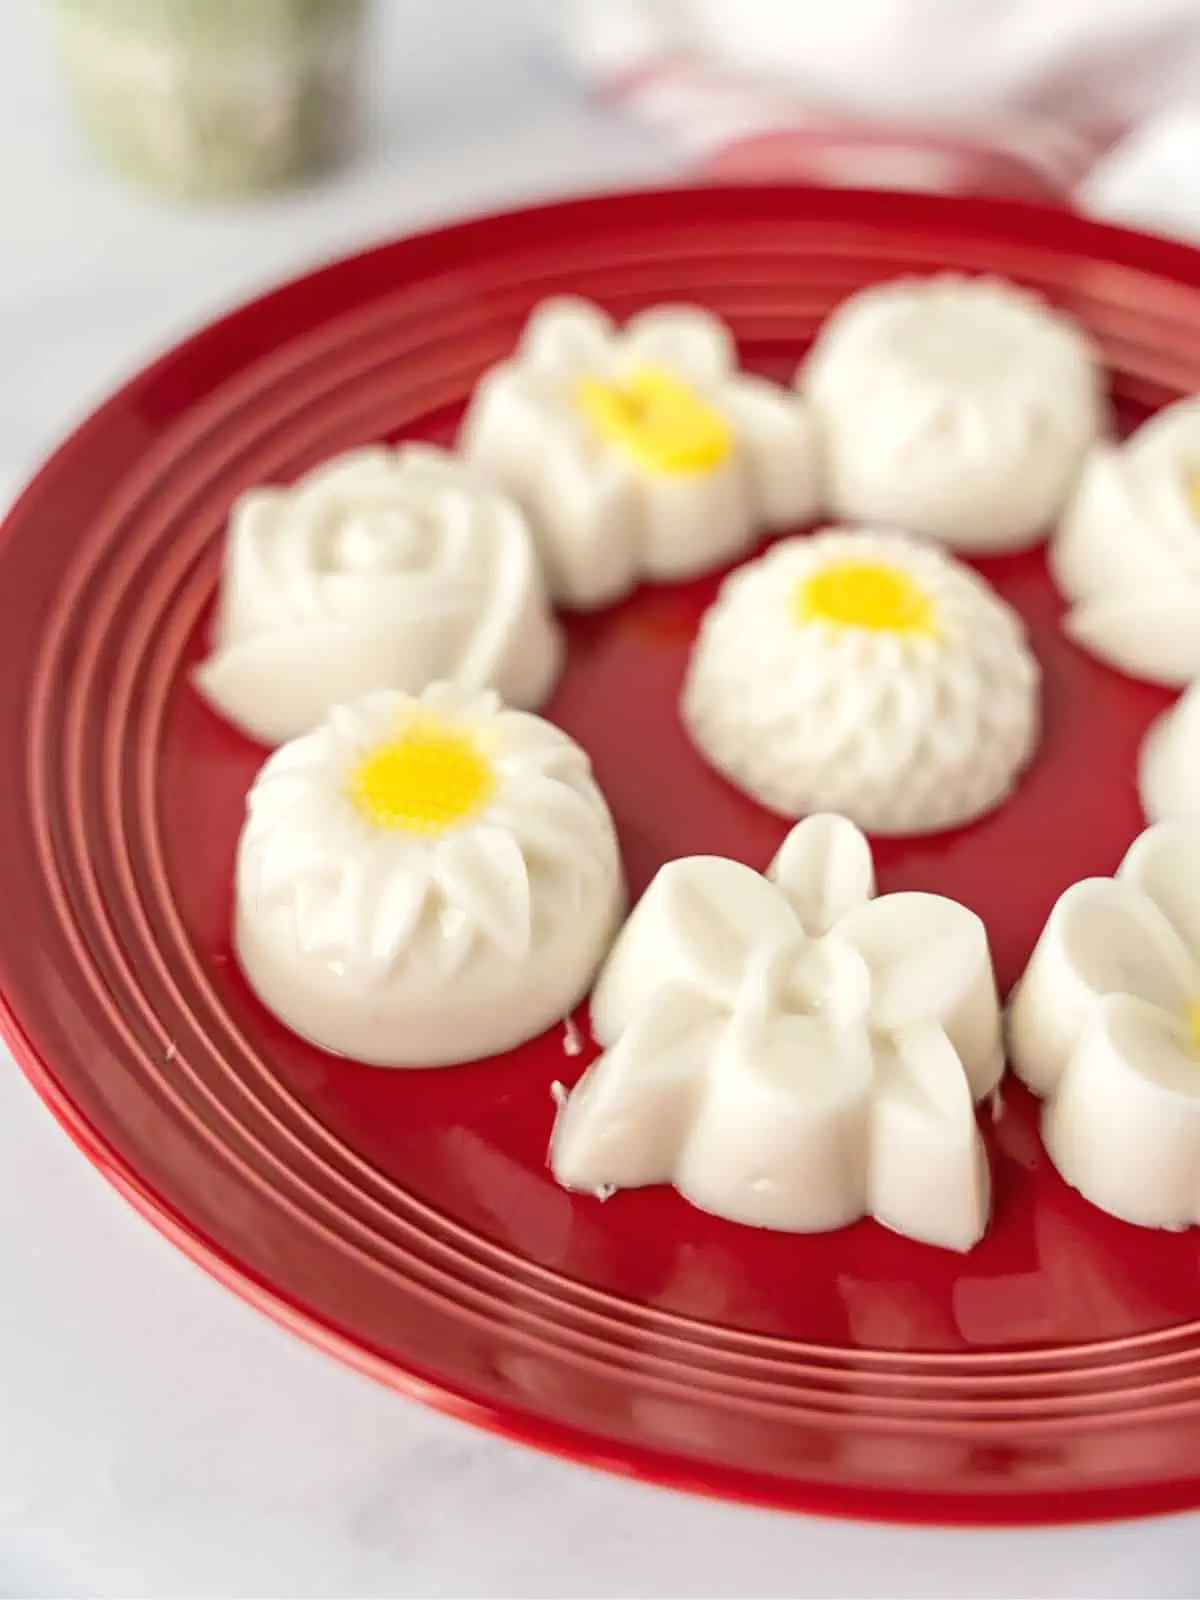
The Thai coconut jelly needs to be refrigerated and lasts up to 5 days. This is a great make-ahead dessert.
More Thai Drinks and Desserts
Coconut Agar Jelly Recipe
Want to Save This Recipe?
Enter your email & I’ll send it to your inbox. Plus, get great new recipes from me every week!
By submitting this form, you consent to receive emails from Thai Caliente
Equipment
- Silicon Molds
Ingredients
- 3 cups Water
- 2 tablespoon Agar Agar
- 3 cups Coconut Milk
- 1 cup Coconut Pulp (removed from the syrup)
- 1 cup Sugar
- 1½ teaspoon Salt
- ½ teaspoon Coconut Extract
- optional: Food Coloring
Instructions
- Add water to a large saucepan and sprinkle 2 tablespoons of agar agar. Let the agar agar bloom for 15 minutes.
- Measure out 3 cups of coconut milk. This is a little less than 2 cans, save the remainder for cooking or a smoothie.
- Add sugar, salt, and coconut extract to the coconut milk, stir, and set aside.
- Remove coconut pulp from the syrup and slice it into small even pieces. You want to end up with 1 cup of diced coconut pulp.
- After 15 minutes, place the saucepan of water and agar agar over medium high heat and bring to a simmer. Stir occasionally to prevent clumping.
- Once it starts boiling, reduce heat to a simmer and continue stirring for 5 more minutes.
- Now add the coconut milk mixture and continue stirring over low heat until the sugar dissolves, about 3 minutes.
- Add the diced coconut pulp and continue stirring for 2 more minutes. Keep the mixture over low heat until you are ready to pour it into the molds or dish.
- If you want to use a different color, reserve some coconut milk in a seperate bowl and add any food coloring of your choice.
- Carefully pour the mixture into molds. It helps to use a cutting board or baking sheet underneath. Or you can pour it into a large glass dish. Place in the refrigerator for at least 30 minutes or until the jelly has hardened.
- Remove jelly from molds or if using a dish, slice into small squares. Enjoy or keep refrigerated.
Video
Notes
Nutrition
Nutritional information is provided as an estimate only and depends on ingredients and amounts used. Thai Caliente makes no guarantees to the accuracy of this information.





You forgot to put sugar in the ingredients!
So sorry! Thank you for catching that, it should be 1 cup of sugar. I’ve updated the recipe.