Easy Thai Sticky Rice- Video
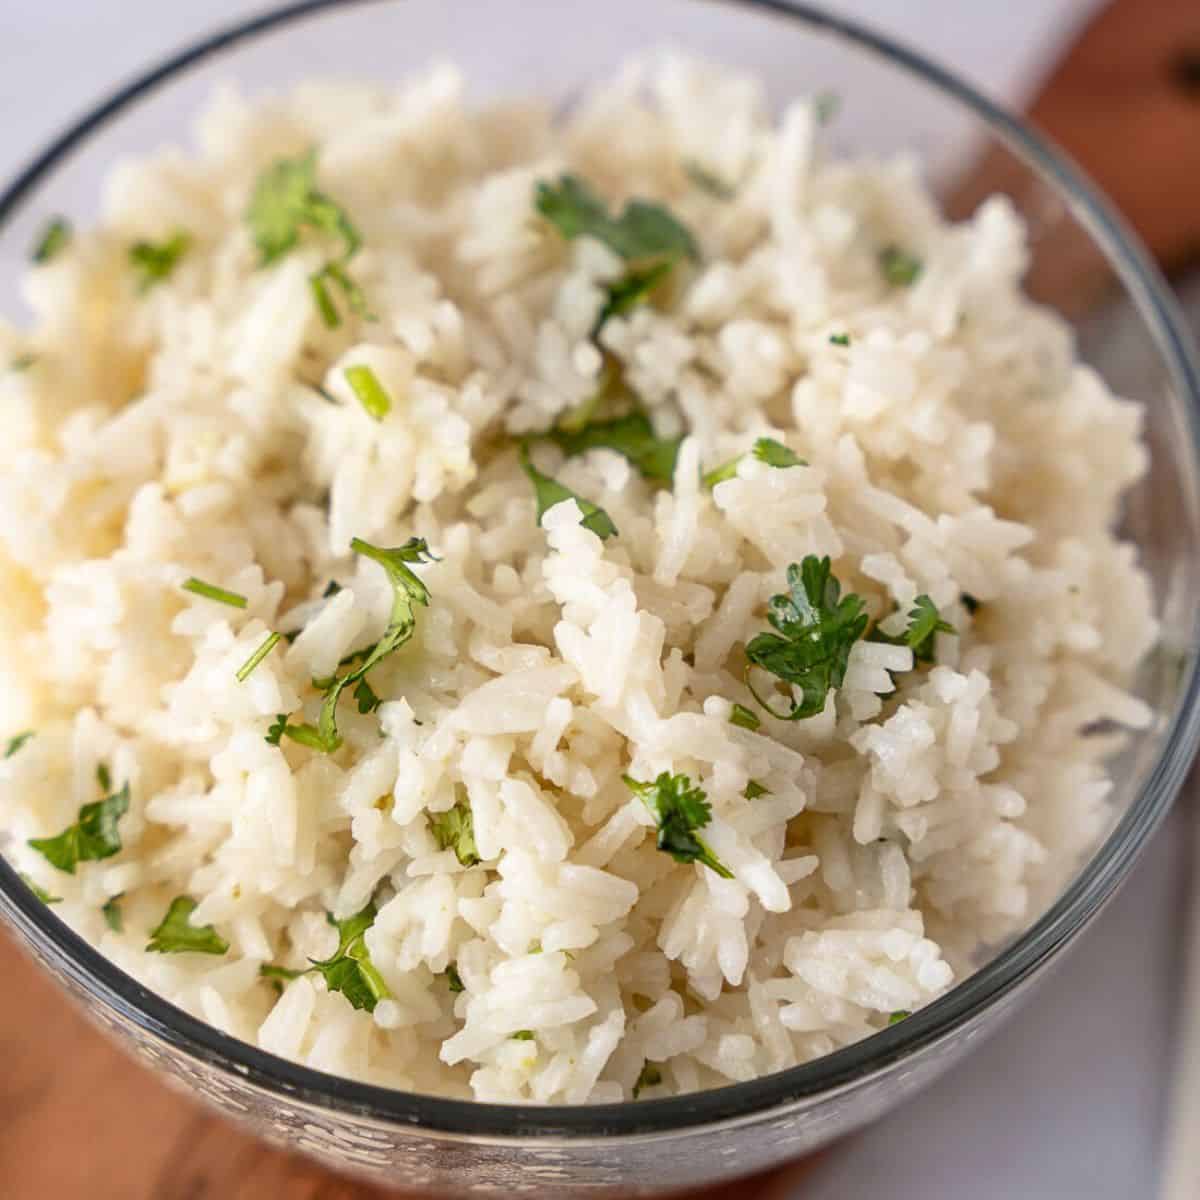
Thai Sticky rice is a staple in Northern Thai cuisine and can now be enjoyed in your own home using common kitchen tools.
Traditionally Thai sticky rice is made in a tall round pot with a large bamboo insert in the pot. The rice is then cooked with steam instead of being boiled like traditional rice.
While this method isn’t complicated, sourcing the bamboo steamer and storing can be challenging. Cleaning the bamboo insert is also difficult, since grains of rice get stuck on during cooking.
While I want to share Traditional recipes with you, I also want to make sure they are easy enough to execute in your own home. I was very excited when I learned a new way to cook Thai sticky rice without a bamboo steamer.
And the sticky rice was perfect!! Best of all none of the rice sticks and cleanup is seriously so much easier. I wish I could take credit for this, but it’s actually from another blogger She Simmers.
Items you will need to make Thai Sticky Rice:
How to make Thai Sticky Rice
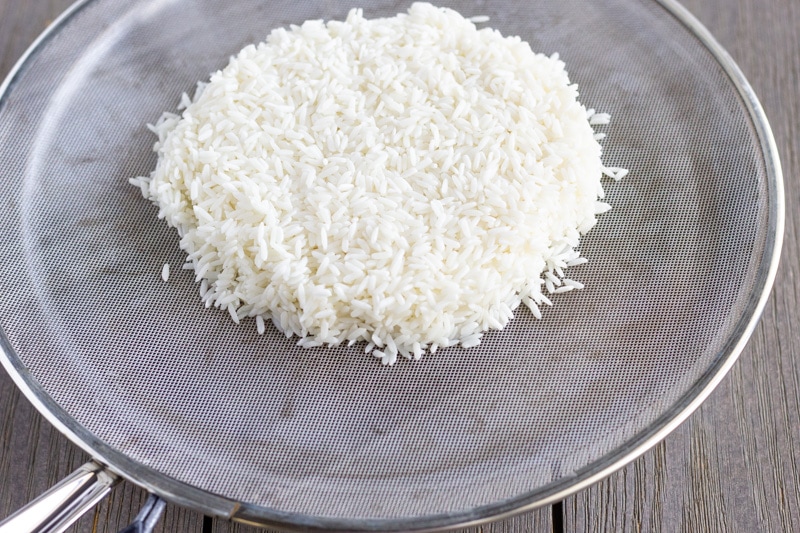
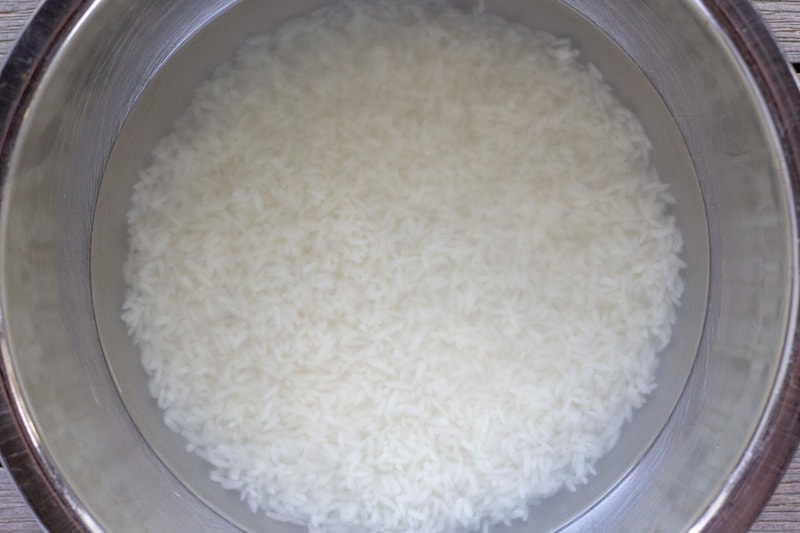
Rinse rice well in a bowl and drain until water runs clear. Usually 3 or 4 rinses is needed.
Soak 1 cup of Thai Sweet Rice or Glutinous Rice in a bowl with 2 cups of water for about 4 hours or overnight is preferred. The longer it soaks the faster it will cook.
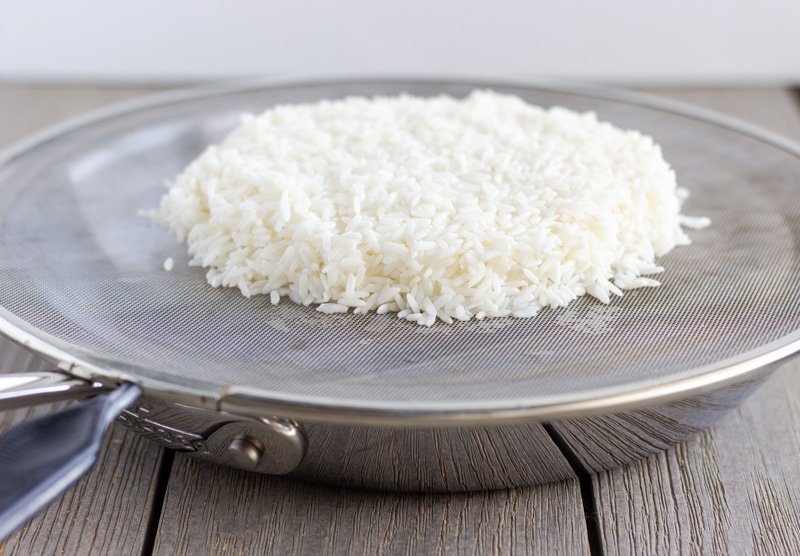
Drain rice over splatter guard and place over a skillet that is filled with water more than halfway.
Be sure the rice is in a mound then flattened to cook evenly.
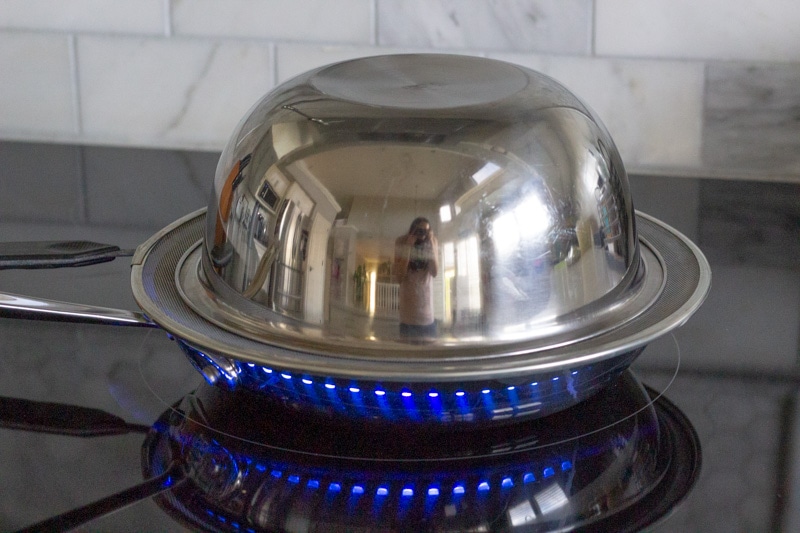
Use the same bowl you soaked the rice in and dome it.
Bring water to a boil then lower to a gentle boil.
After 10 minutes flip rice over and cook for an additional 7-10 minutes or until rice is soft and sticky. If using more than 1 cup of rice, you will need a longer cooking time.
How to Serve and Store
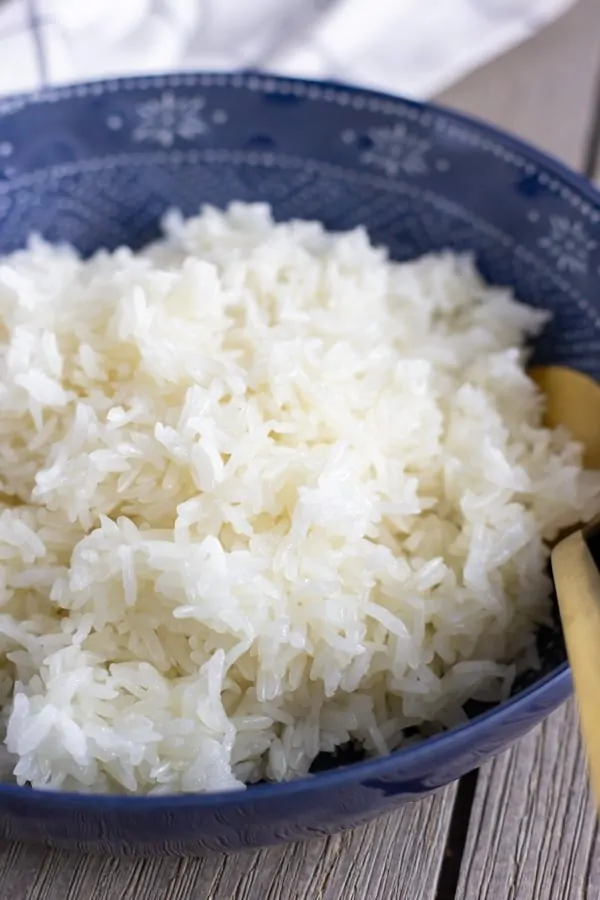
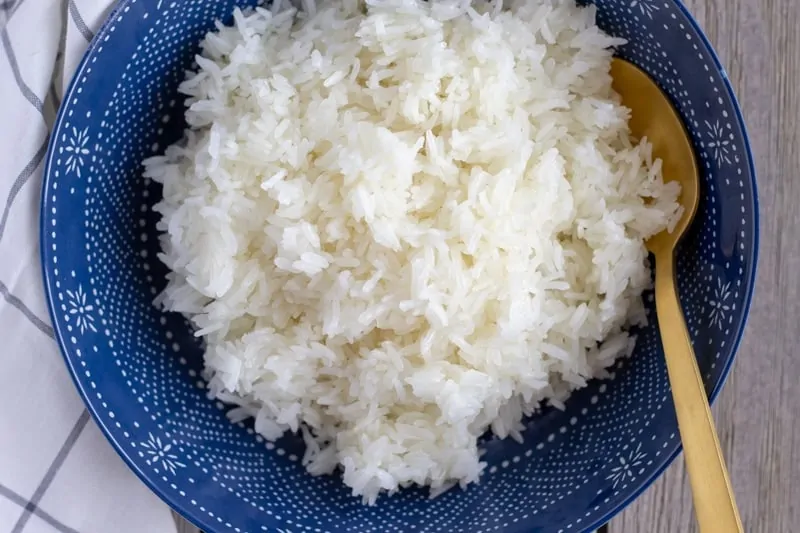
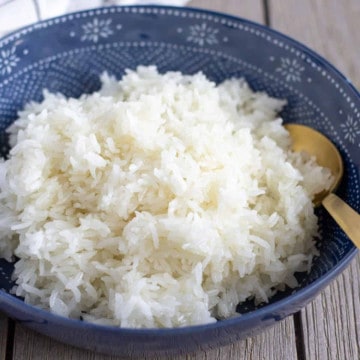
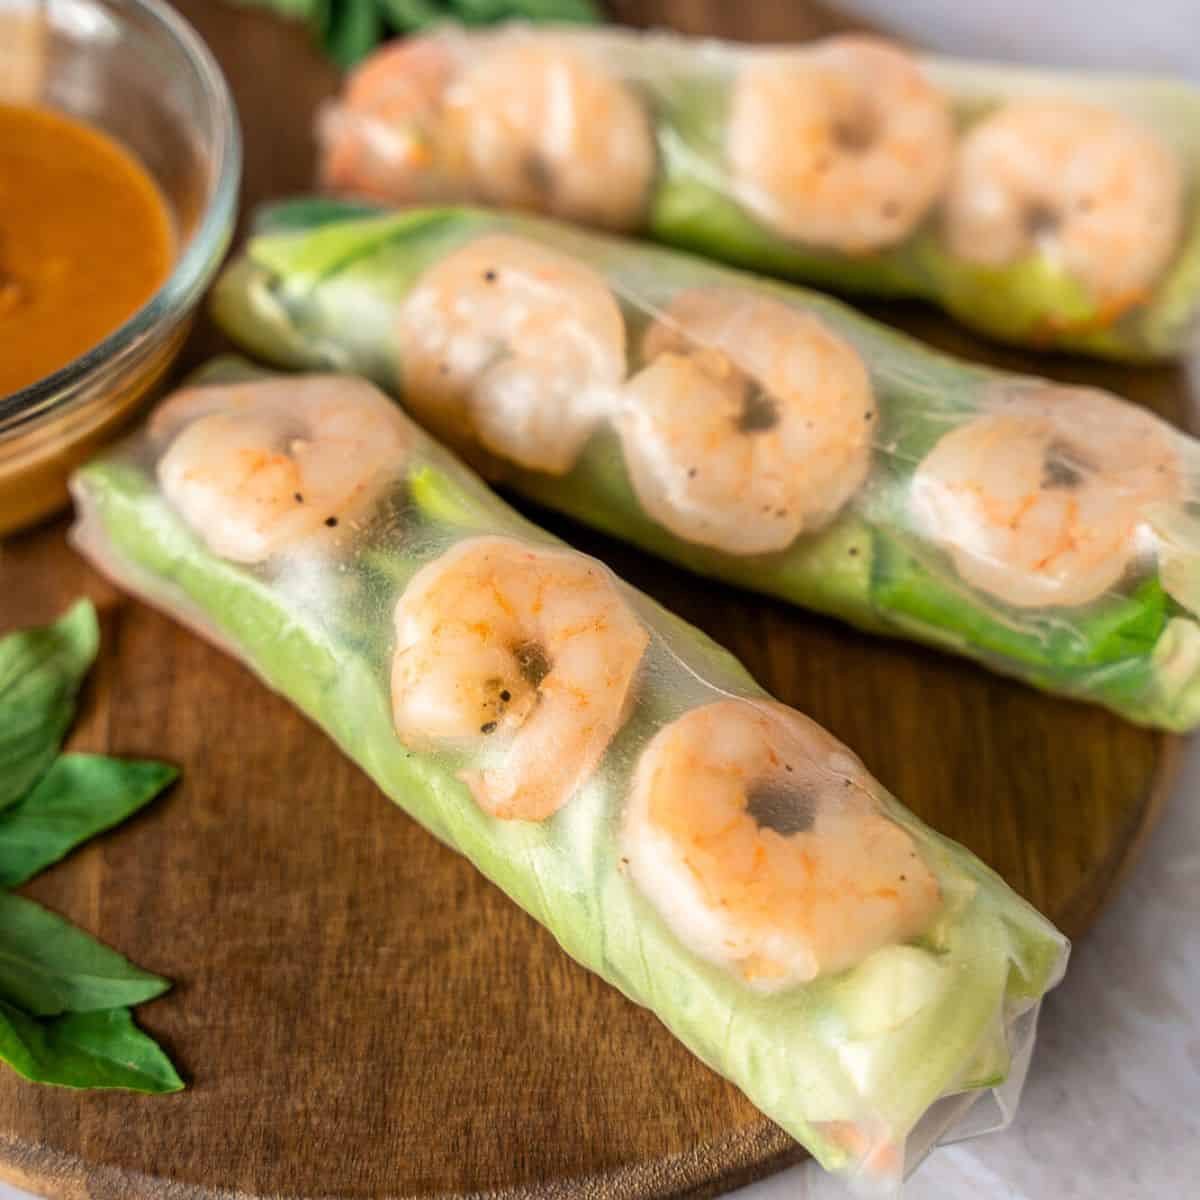
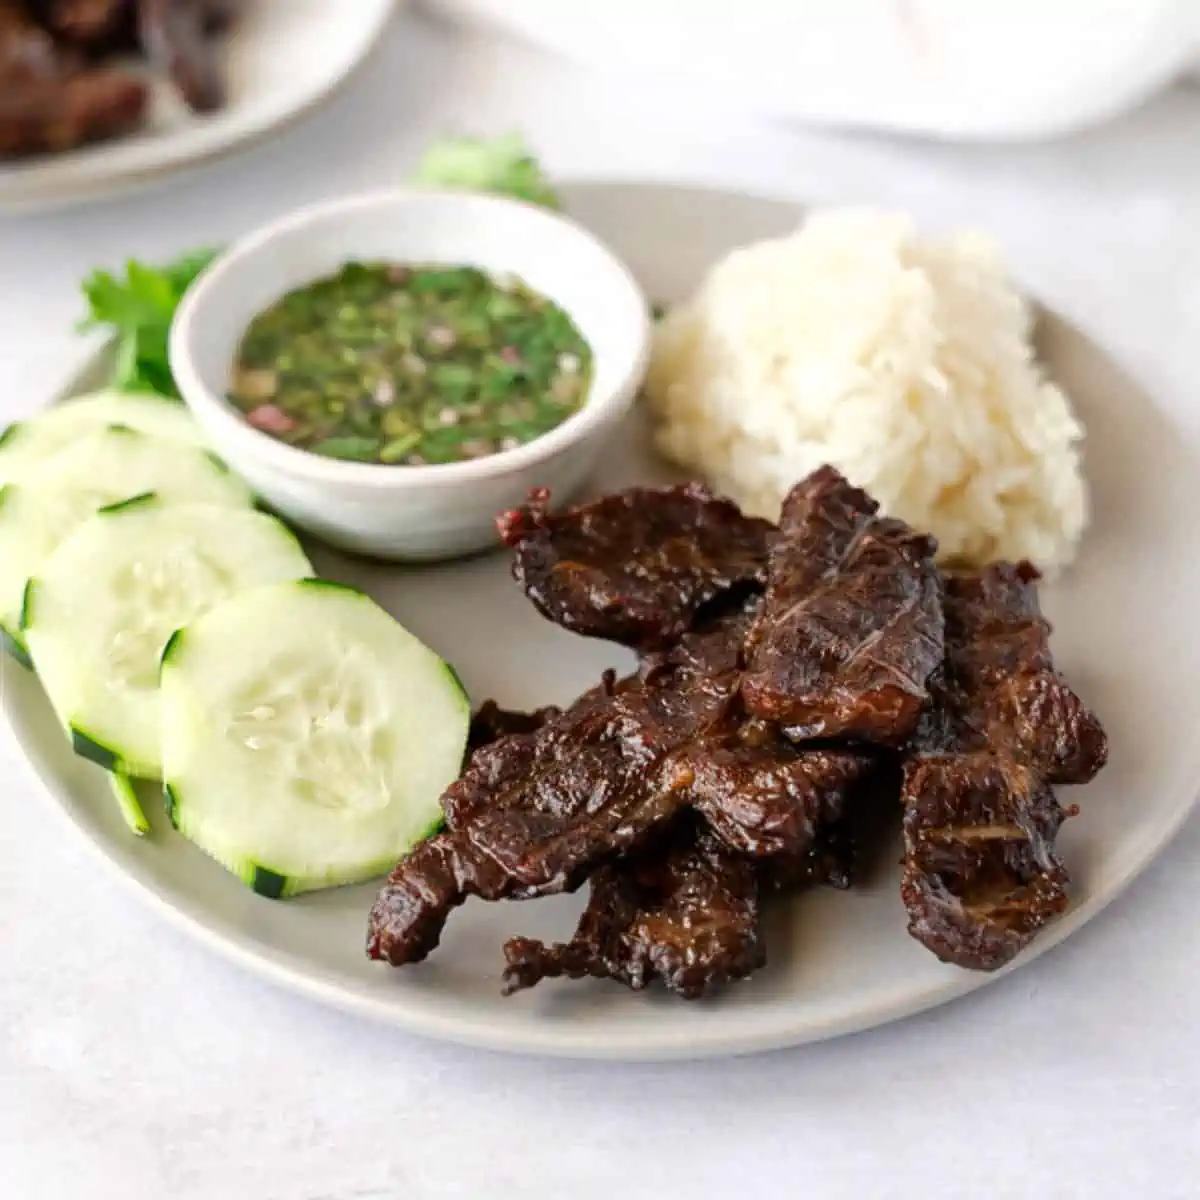
The Thai sticky rice cooked perfectly and pairs well with dishes like Larb, Som Tum, and Nam Tok.
Sticky rice is meant to be eaten right away. Keep the sticky rice warm by storing it in a container with a lid or add plastic wrap on top.
If you have leftovers, store the rice in the refrigerator for up to 3 days. Re-heat in the microwave with a damp paper towel on top until warmed through.
Thai Sticky Rice
Want to Save This Recipe?
Enter your email & I’ll send it to your inbox. Plus, get great new recipes from me every week!
By submitting this form, you consent to receive emails from Thai Caliente
Ingredients
- 1 Cup Thai Sweet or Glutinous Rice Do Not use Jasmine or long grain rice.
- Water For soaking rice and to fill pan more than halfway.
Instructions
- Rinse rice well in a bowl and drain until water runs clear. Usually 3 or 4 rinses is needed.
- Soak 1 cup of Thai Sweet Rice or Glutinous Rice in a bowl with 2 cups of water for about 4 hours or overnight is preferred. The longer it soaks the faster it will cook.
- Drain rice over splatter guard and place over a skillet that is filled with water more than halfway.
- Have rice in a mound then flattened to cook evenly. Use the same bowl you soaked the rice in and dome it.
- Bring water to a boil, then lower to a gentle boil. After 10 minutes flip rice over on the splatter guard and cook for an additional 7-10 minutes or until rice is soft and sticky. If using more than 1 cup of rice, you will need a longer cooking time.
Video
Notes
Nutrition
Nutritional information is provided as an estimate only and depends on ingredients and amounts used. Thai Caliente makes no guarantees to the accuracy of this information.

First I haven’t tried this yet but I am anxious to make it. I’m trying to wrap my head around the “flip the rice” and I’m getting it. If it’s on a splatter guard domed with a bowl and you flip it then the rice is in the bowl not the splatter guard? What am I missing here? Sorry if this is a dumb question. 🙁
Hi Janey, great question! You would flip the rice on the splatter guard so the other side can cook evenly. You should be able to do this in chunks as the rice will start sticking together. I’ve added my YouTube video to the recipe card to give you a visual of the process. Let me know if this helps!
11/9/23 Excellent and easy recipe. Perfect 2 portions if for main dish without appetizer. This will be my go-to from here on out. Better than my local restaurant.
In place of a splatter guard to cook rice, I used a bamboo steamer + lid over a wok. To avoid rice sticking I added parchment paper with holes poked in. 1c/8oz/250mL of rice perfectly cooked after 10 minutes steaming per side. Parchment (+ a plate) also made it easy to flip. I turned off heat but left wok/steamer in place to stay warm.
Also, I had my rice soaking for close to 24 hours, on the counter.
To make it a complete meal: served with Thai Caliente’s “Crying Tiger” sauce (a must make!), chopped lettuce, sliced cucumber, and reheated steak & pork leftovers sliced 1/4″ thin.
So glad to have found this Thai/Mexican recipe resource. Thank you Renee.
Thank you again, Sarah! I love the tip about using the bamboo steamer and holed parchment paper! That’ a great idea 🙂
Simply out of necessity, couldn’t find the splatter guard!
Excellent substitute, I’m going to try it out 🙂
Can it be cooked in a rice cooker with more water for a longer time to make it become sticky rice?
Hi Patricia- It’s not the cooking method that makes the rice ‘sticky’. You need to use glutinous rice, this is what makes it sticky. I have not tried cooking it in a rice cooker, but I have seen some people do it. Let me know if you try it!